
Growing Natural Dyes in my Bristol Back Garden - June 2020

June - before the new planting was added
I keep feeling like I haven’t done enough work in the garden, or that I am very behind on last year’s growing. Looking back on my last garden related post, I have made a lot more progress than I thought and made good a lot of my intentions. I am definitely a bit behind on last year, but hey, it’s not surprising considering what 2020 has been like so far.
We’ve had some pretty good weather the last month here in Bristol, with lots of sun. There hasn’t been much rain, apart from a few days of completely apocalyptic weather, meaning I’ve had to use the hosepipe a lot more than I’d like. I definitely need to work on ways to collect rain water in the garden.
With the appearance of summer, growing season is well and truly underway, and I’ve managed to spend last post quite a bit of time getting the dye garden ready for a long summer’s worth of productivity. The photo on the left is the garden in mid-June - I placed cardboard on the beds to act as a weed suppressant whilst I worked out my plan.
The Dahlias that were in the large lower bed, have been bug up and temporarily placed into pots. The tubers were dormant but within a week of transplanting had started to grow! Id left them in the ground over winter and was unsure if they were going to survive, so I was really pleased to see 9 out of the original 12 plants spring into life again.
The next stage in my garden plan was to top up the beds with more topsoil (they have compacted and sunk quite a bit), but, due to increased demand had to wait longer than expected for the supplier to deliver.
In the meantime, I have been juggling many pots and trays full of seedlings, moving them around to make sure they get enough light and warmth to grow, taking them inside at night in case of a slug attack. The first flowers to be harvested are the marigolds - I’m growing these for the first time and have bizarrely never dyed with them! My freezer
The Persicaria Tinctoria (Japanese Indigo) seeds I planted last month germinated, and these tiny indigo plants became my babies! I am so thrilled at the prospect of growing even a tiny amount of indigo, that I’ve obsessively taken care of these plants.
Like a lot of people, this year I have become more aware of food sovereignty, and am trying to growing a bit more veg, but am limited with space due to most of the garden being dedicated to dye plants. I am squeezing in edibles where I can amongst the dye plants, growing crops such as chard, sorrel, salads, courgettes and tomatoes. I’ve focused on crops that are easy to grow and require little maintenance, as I’ve got my hands quite full already!
This year I’ve also tried a few dye plants in the ornamental garden bed, to the right of the garden. There is Tansy and Lady’s Bedstraw (purchased from Grow Bristol last year), and 11 Hopi sunflowers spread throughout. It’s been interesting to see where the sunflowers thrive – the most successful plants are in a previously dead spot of soil, next to the compost bin. I’d realised it gets quite a lot of morning sun, and presumably has quite well nourished soil!

Early marigold harvest surrounded by salad crops and dye plants


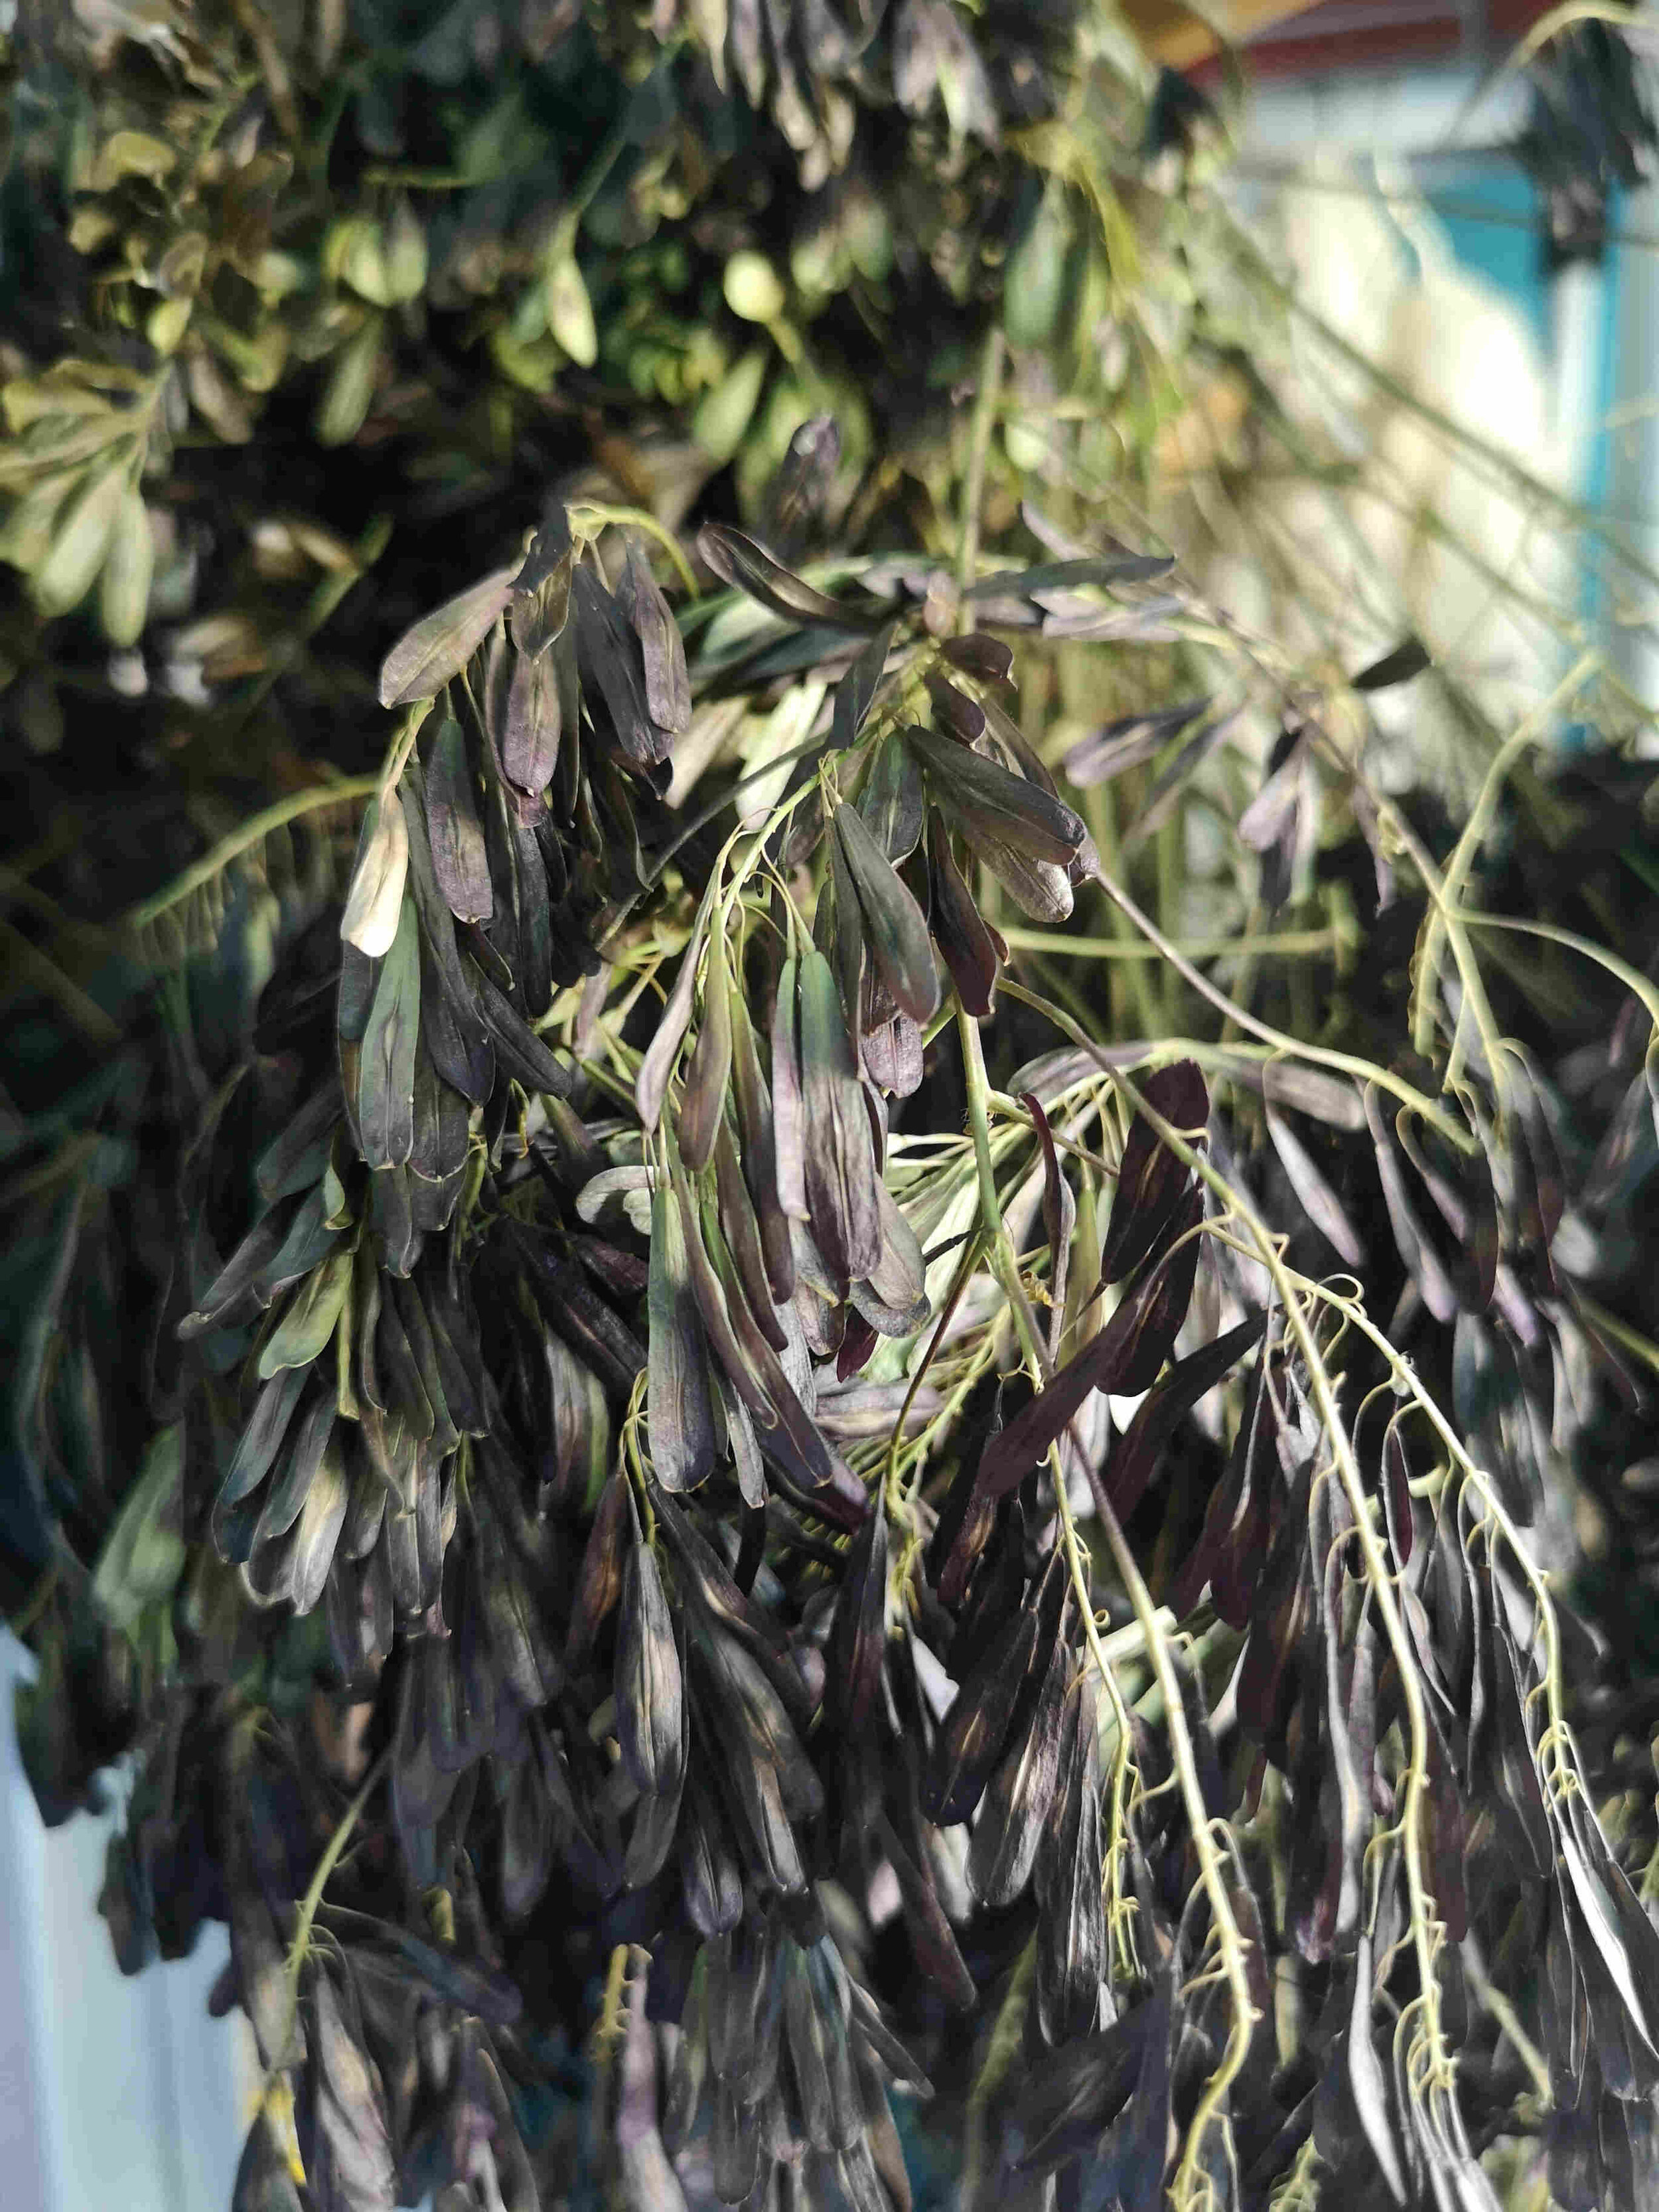
Before the soil could be replenished, I had to deal with with large quantity of second year woad plants. As a biennial, they shoot up flower stalks in their second year and go to seed. As the weather has been quite hot, most of the seeds ripened by the time I needed to dig the plants up. The seeds are now drying in my dye room before being stored for my own use and to sell in my shop.
I have more woad seedlings ready to go in the ground - this year they are going into a new planter in the front garden/bit of concrete. It gets all the morning sun and was otherwise a dead space, I’m hoping it will be a good place for woad to thrive. My husband built the planter for me using reclaimed wood from Bristol Wood Recycling Project, and was lined with old compost bags before being filled with soil. The materials for the planter were purchased using Ko-Fi donations - thanks very much to everyone who bought me a virtual coffee! It really does make a difference.

Eventually, the topsoil arrived, meaning a fun afternoon of heavy lifting about 20 wheelbarrow loads into the beds!
The Dahlias that were in pots moved into the rear bed, underneath the 2nd year Hollyhocks. It’s a but more shady there compared to where they were last year, but I think they should be ok. As it’s only my second proper year of growing, plant placement is very much still an experiment.
My precious Indigo plants went into the small lower bed, where the Coreopsis was last year, as it gets the most sun and warmth throughout the day. Sulfur Cosmos and a few coreopsis also went into the ground, with a lot more seedlings to go in next month (including my first ever homegrown Weld!)


The hard work put in this month has really transformed it, and turned it into a space with so much potential. In the photo below you can see how the raised beds fit into the rest of our tiny garden. The windows you can see are of my dye room, I really mean it when I say there are zero miles travelled between growing and dyeing!

Landscape view of the whole garden - messy, but productive!

As of 30th June, when I finally finished writing this blog, I’ve been able to harvest a good amount of marigolds, dyer’s chamomile flowers, and the first of the coreopsis and hollyhocks - almost enough to consider using the dehydrator for the first time.
With lockdown easing but travel restrictions remaining in place, I will be staying home for all of summer. This has it’s benefits as it means the garden can received my daily attention. I am so grateful to have this space and feel excited for the summer of growing ahead!
I’ll try and keep up with my monthly garden updates, as I think it’s interesting to show what plants are working and at what time of year. It also makes a good record to look back on for myself.
If you’ve enjoyed reading this blog and found it helpful, why not buy me a virtual coffee on Ko-Fi? There’s no obligation, but your support will help me continue to write these blogs and help me continue my journey to becoming a self-sufficient natural dye grower and knitwear designer. Ria :)