Hapazome - Leaf and Flower Pounding on Cloth Using Homegrown Dye Plants
If you’re interested in learning natural dyeing with me, I run regular in-person workshops in the Bristol and North Somerset area, and occasionally online ones for those further afield. Click here for more information and to see what’s currently on offer…
‘Hapazome’ is a term probably coined by textile artist India Flint, which loosely translates to ‘leaf dye’ in Japanese. It’s also referred to as leaf or flower pounding, for the simple reason that you hammer the plant materials onto the cloth. I like to think of it as eco printing for the impatient!
With my dye garden in full bloom in August this year, I had lots of petals and leaves to experiment with. The sample below is made with alum mordanted silk (a scrap from my wedding dress). I laid the plant materials out onto the dry cloth, then placed a scrap of calico over the top. Using a rubber mallet, I hammered the cloth until you could see a print coming through onto the calico on top, for about ten minutes, or until I was certain everything had made some form of contact print onto the cloth.
I then lifted the calico off the silk, revealing the print underneath. You can peel the petals and leaves off immediately, but I prefer to let it dry for a bit as it, makes the removal process easier. As you can see in the photos, both pieces of fabric obtained a print, but the mordanted silk underneath provided a clearer definition.
Whole cosmos flowers (the bright orange ones) made the strongest print - giving almost a shadow of the flower that was originally there. Individual dahlia and calendula petals worked well too. Sadly the leaves did not make much of an impression - perhaps these need more hammering in order to release the chlorophyll within, or perhaps some leaves just aren’t suitable for this method.


For my next hapazome project, I decided to use this method on the calico tablecloth I use for covering my table at markets and events, as it’s a pretty dull plain beige! I didn’t mordant or scour the cloth, as I wasn’t particularly concerned about the print fading - it is rarely out in full sunlight and only gets used about 10 times a year.
The cloth is so large I had to lay it on the garden decking, with a large sheet of cardboard laid underneath the cloth so as not to damage the deck, or make the cloth too dirty. I only printed half of the cloth, as the other half is usually behind my market table and therefore unseen.
Instead of using another cloth on top, I laid all the plant materials out and folded the cloth in on itself, so that the print would be double the width and a mirror image of itself. Laying out the leaves and petals was relatively quick, but the hammering took a good couple of hours (sorry neighbours)!


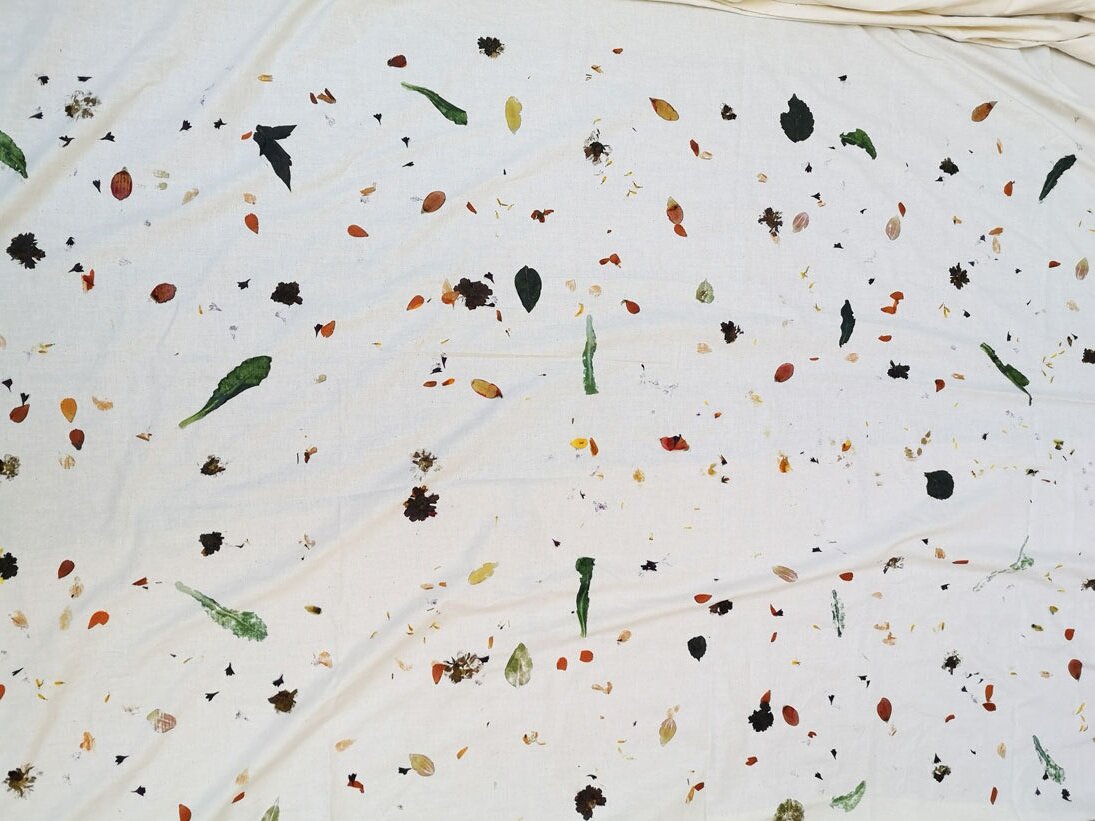
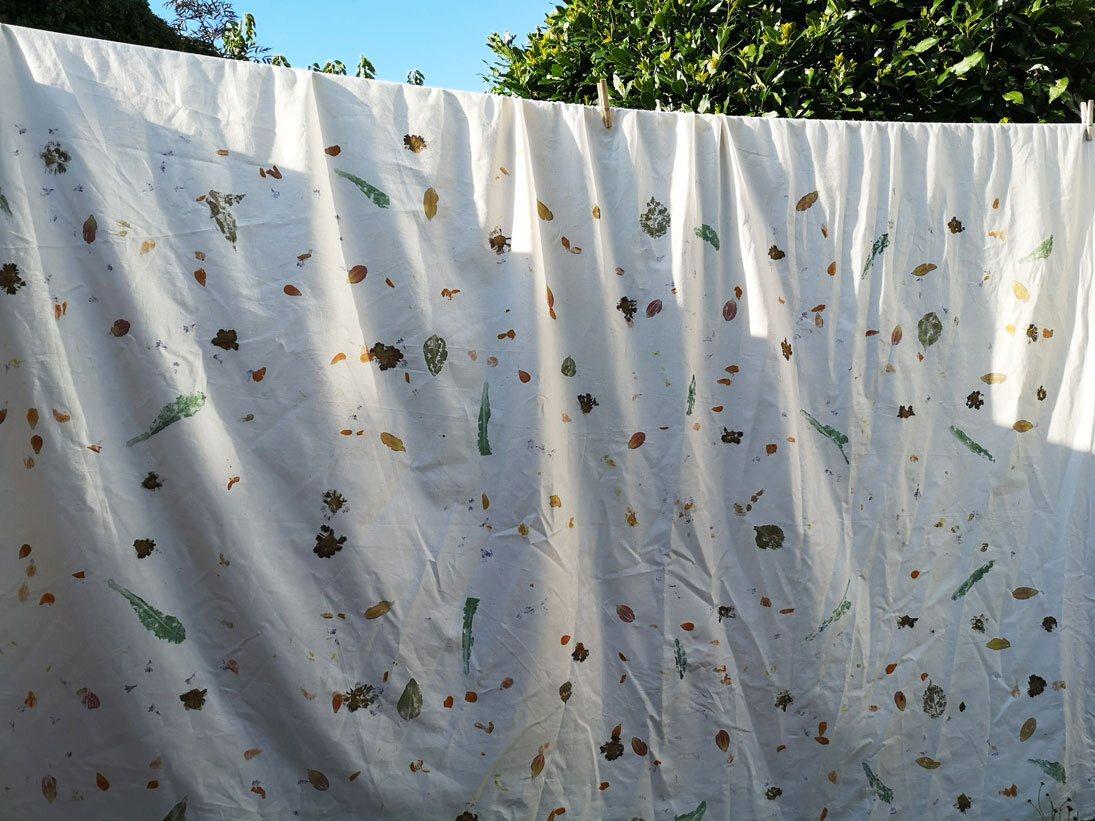
Peeling back the cloth revealed a really strong print on both sides of the fabric, which was great! Having some board underneath the cloth ensured there was good contact between the plants and fabric. I hung the cloth out to dry in the shade, which made a lot of the petals and leaves fall off. I then used a soft brush to remove everything organic that remained. To ‘set’ the print, I used a hot iron over the cloth.
The plants that have worked the best this time round were the woad leaves (which will slowly turn blue), the whole coreopsis flowers and the individual dahlia petals and leaves. I’m really pleased with the combination of colours and sizes on this cloth, ranging from tiny petals to massive leaves.

My new tablecloth had its first outing at The Frome Independent market last weekend, and it’s really jazzed up my market stall display!
As you can see, the colours have developed slightly since the photos above were taken. The woad leaves are slowly turning blue with oxidation, and I expect this to happen more as the months progress!
2026 Update
The hapazome tablecloth is still going strong, with very little fading over the years. I’ve even washed it a couple of times!