
Third Time Lucky Knitting a Sweater to Size...
Note before reading: This blog was written in 2018, when I was studying for my MA (hence the Harvard referencing!). Where needed, I have edited these posts to correct any factual inaccuracies. This post was last edited Nov 2025.

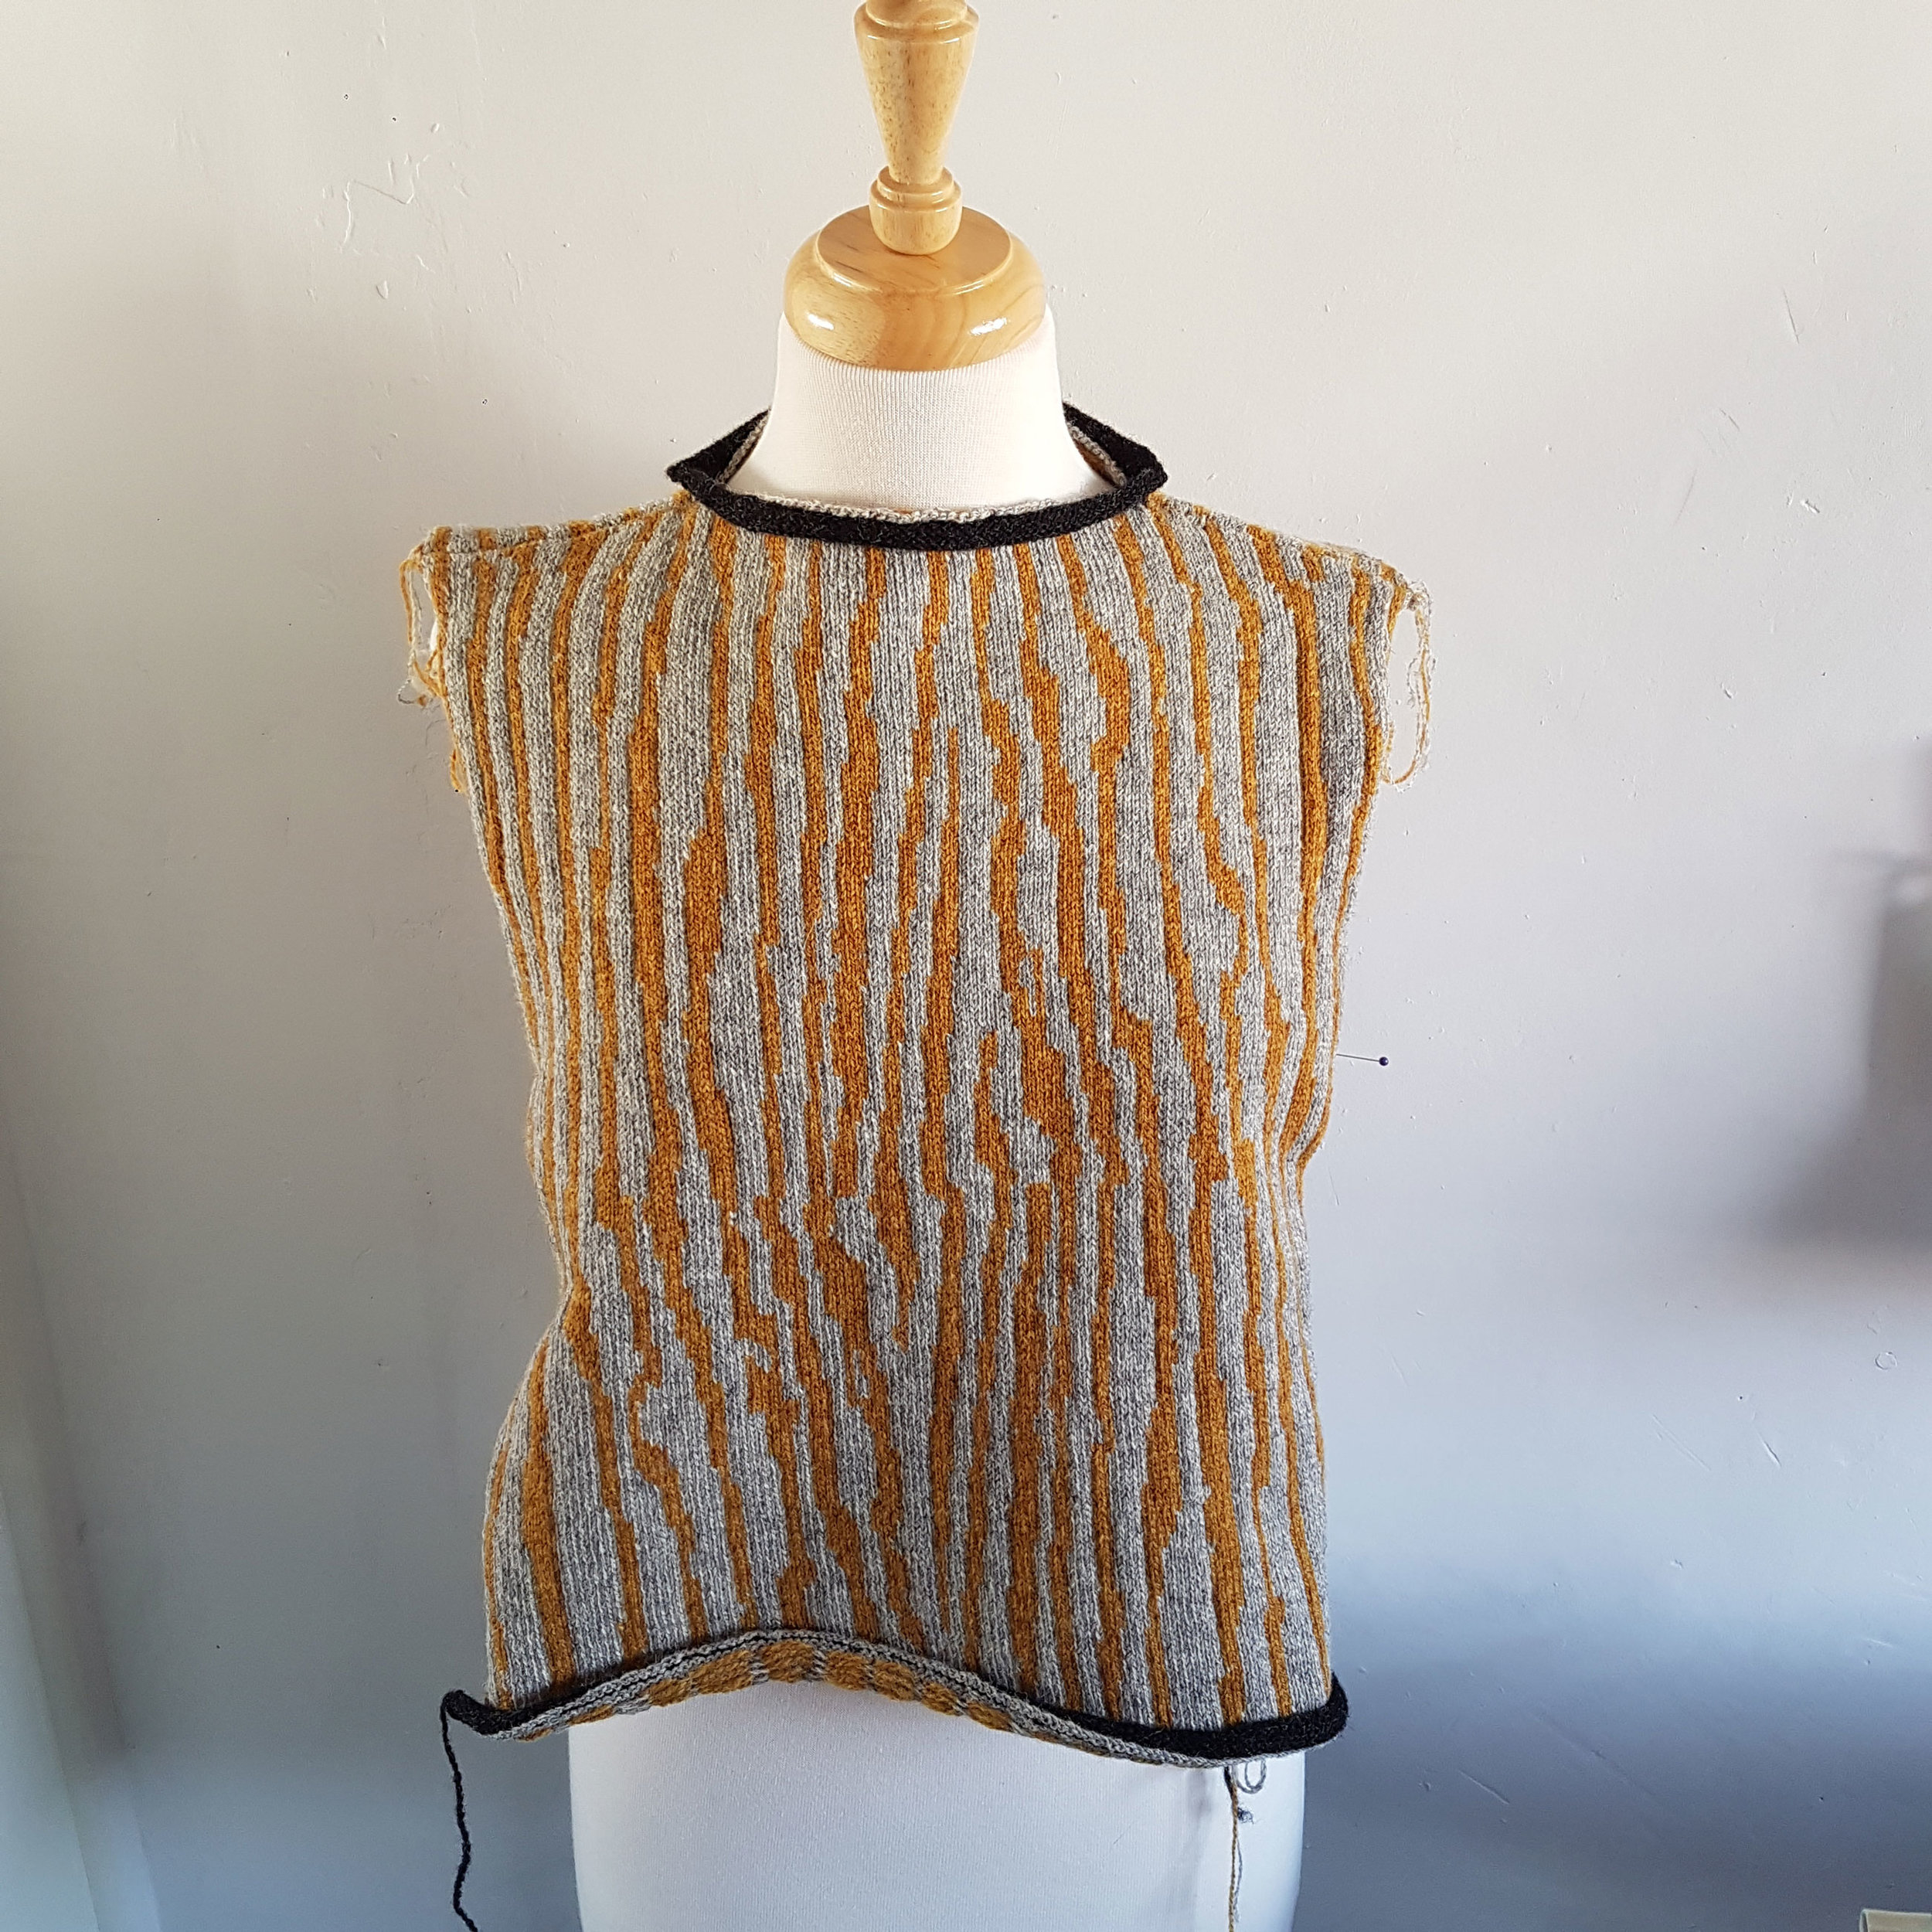
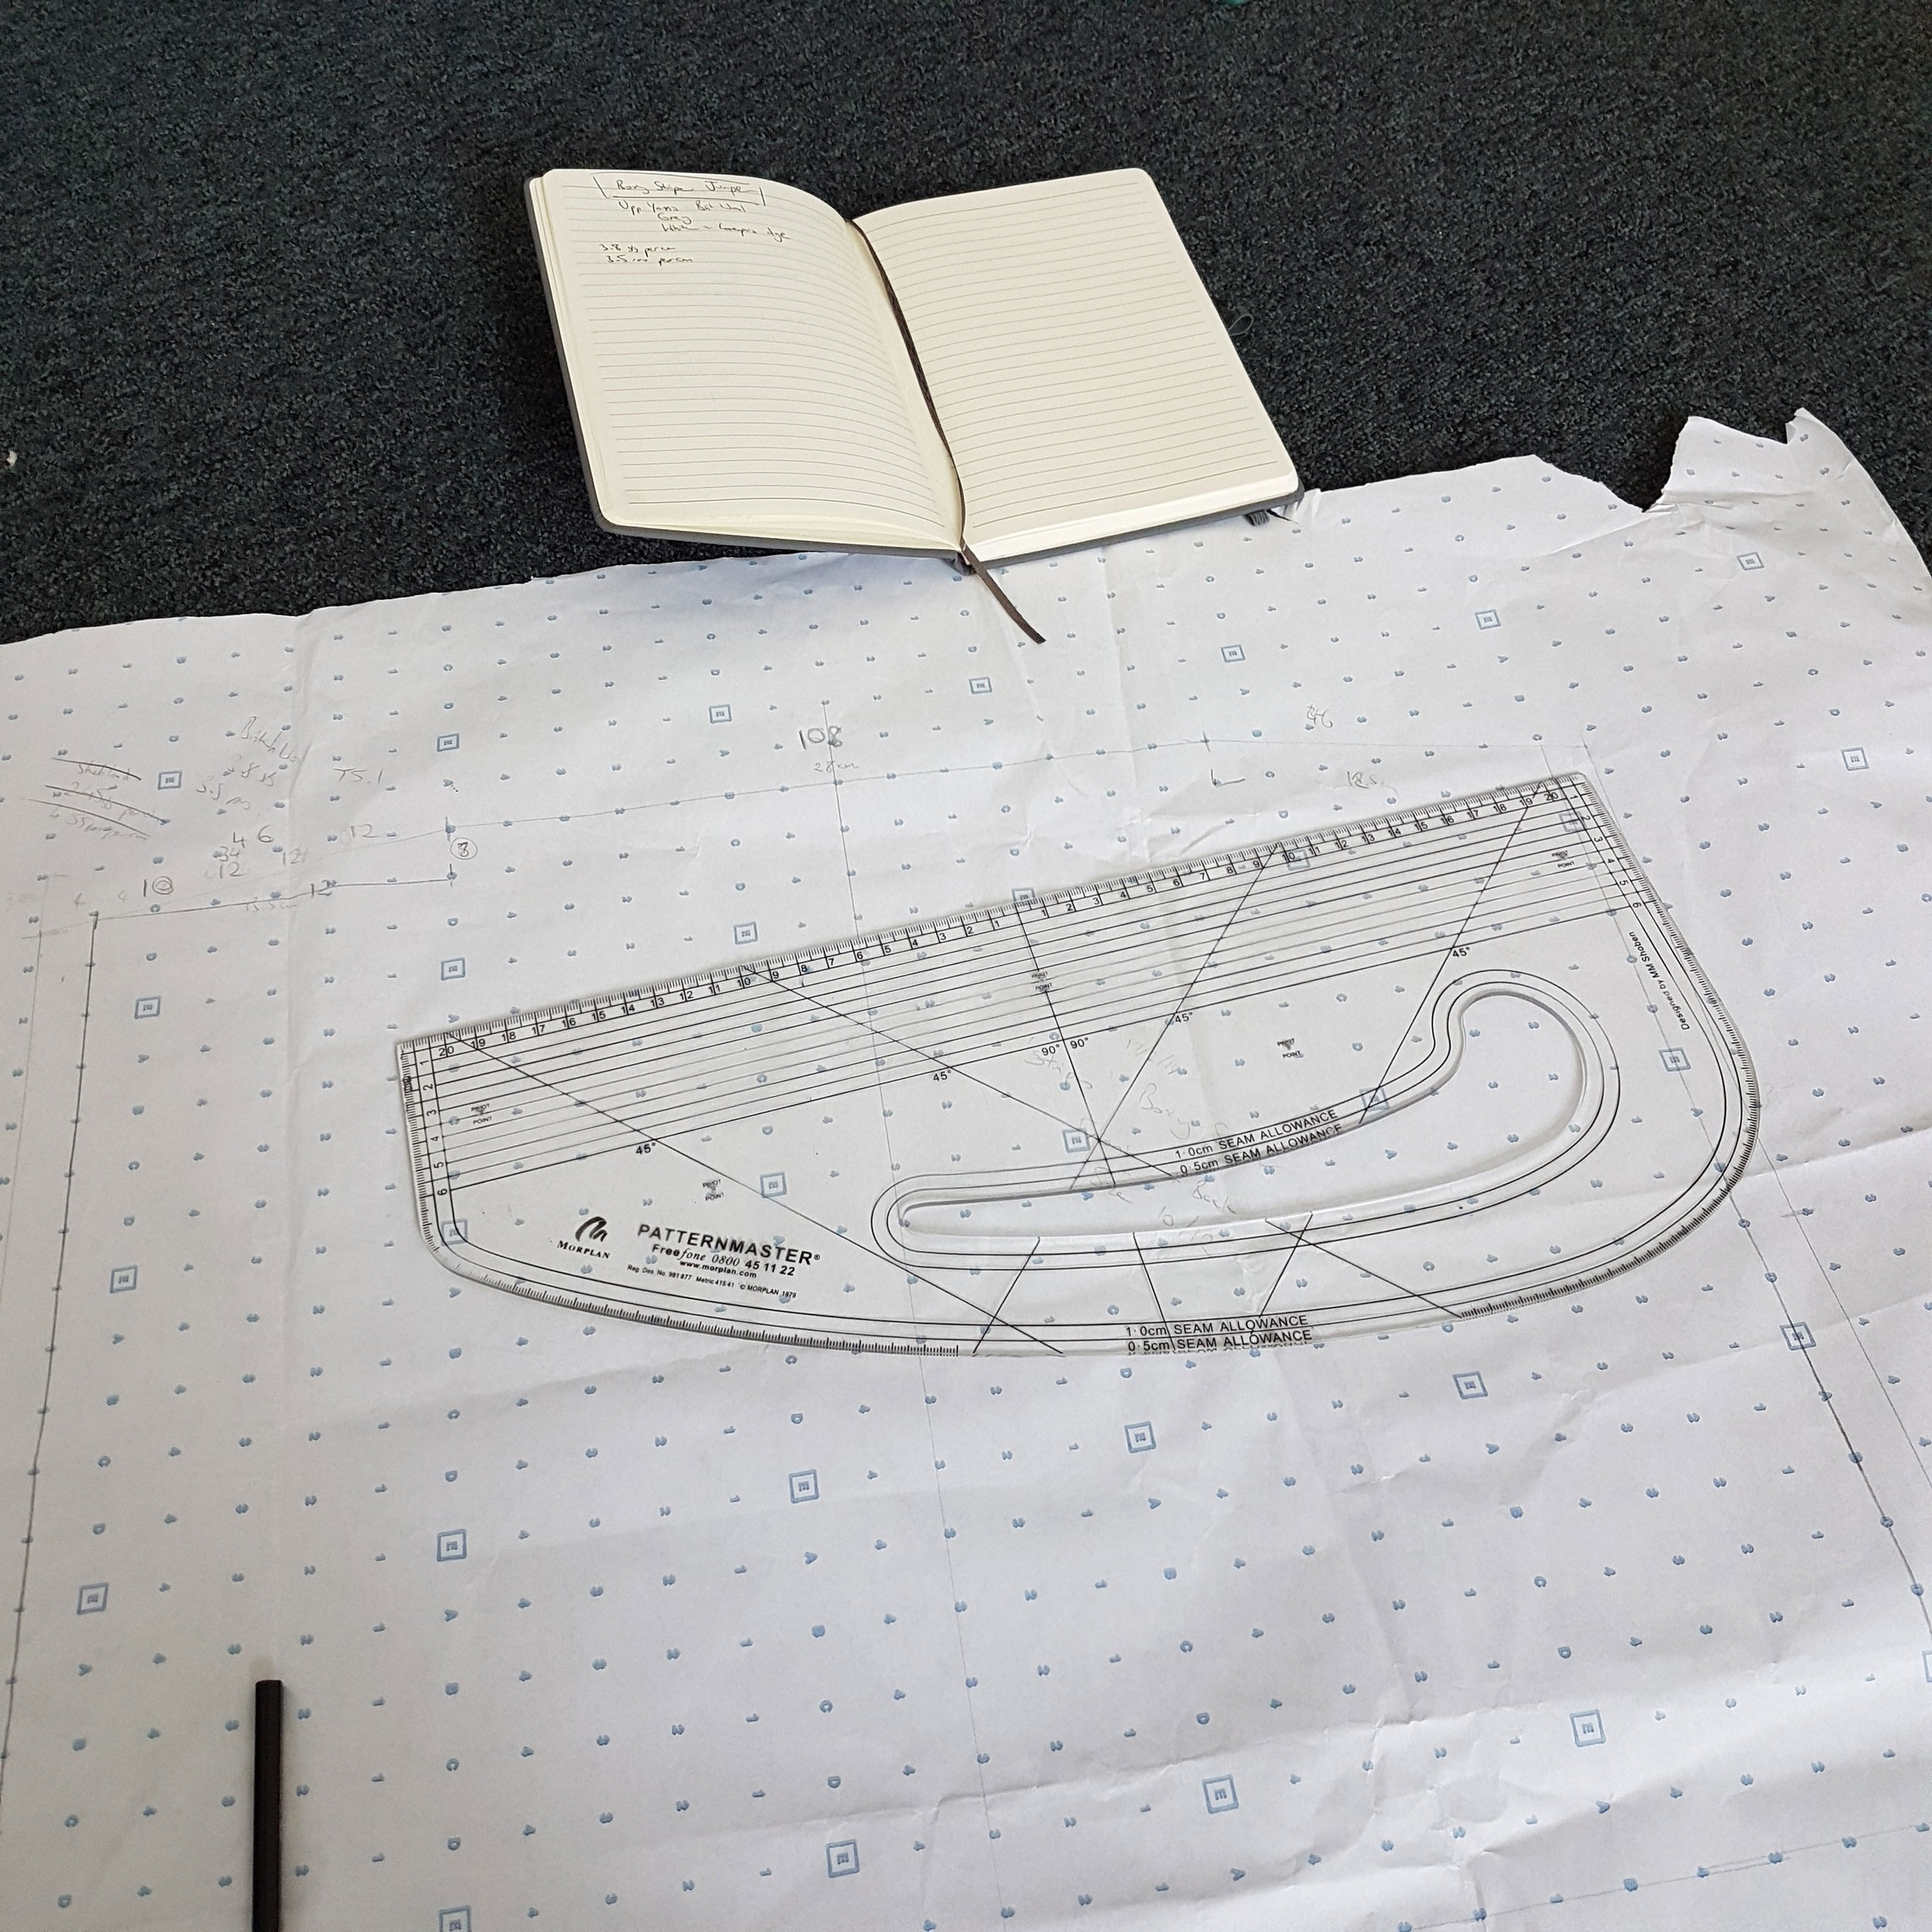
Burns, R. 2018. Boxy Sweater Development 1. Photograph.
I wanted to make a sample of boxy sweater I designed back in the beginning of February, and I decided to do this with some non-dyed factory surplus yarn I had in my studio. This was so I was not wasting my naturally dyed yarn on a first attempt, but could still get an idea of the shape, drape and how the striped pattern looked on a garment. The colours of the Shetland yarn were similar to the mustard and grey colourway - I have decided on three potential colourways for this design.
I loosely cut a pattern using blocks from previous projects, and also using other jumpers I had made as a guide. I knitted a swatch, worked out the patterns and knit it on my electronic machine in four pieces, with a simple rolled neck and hemline.
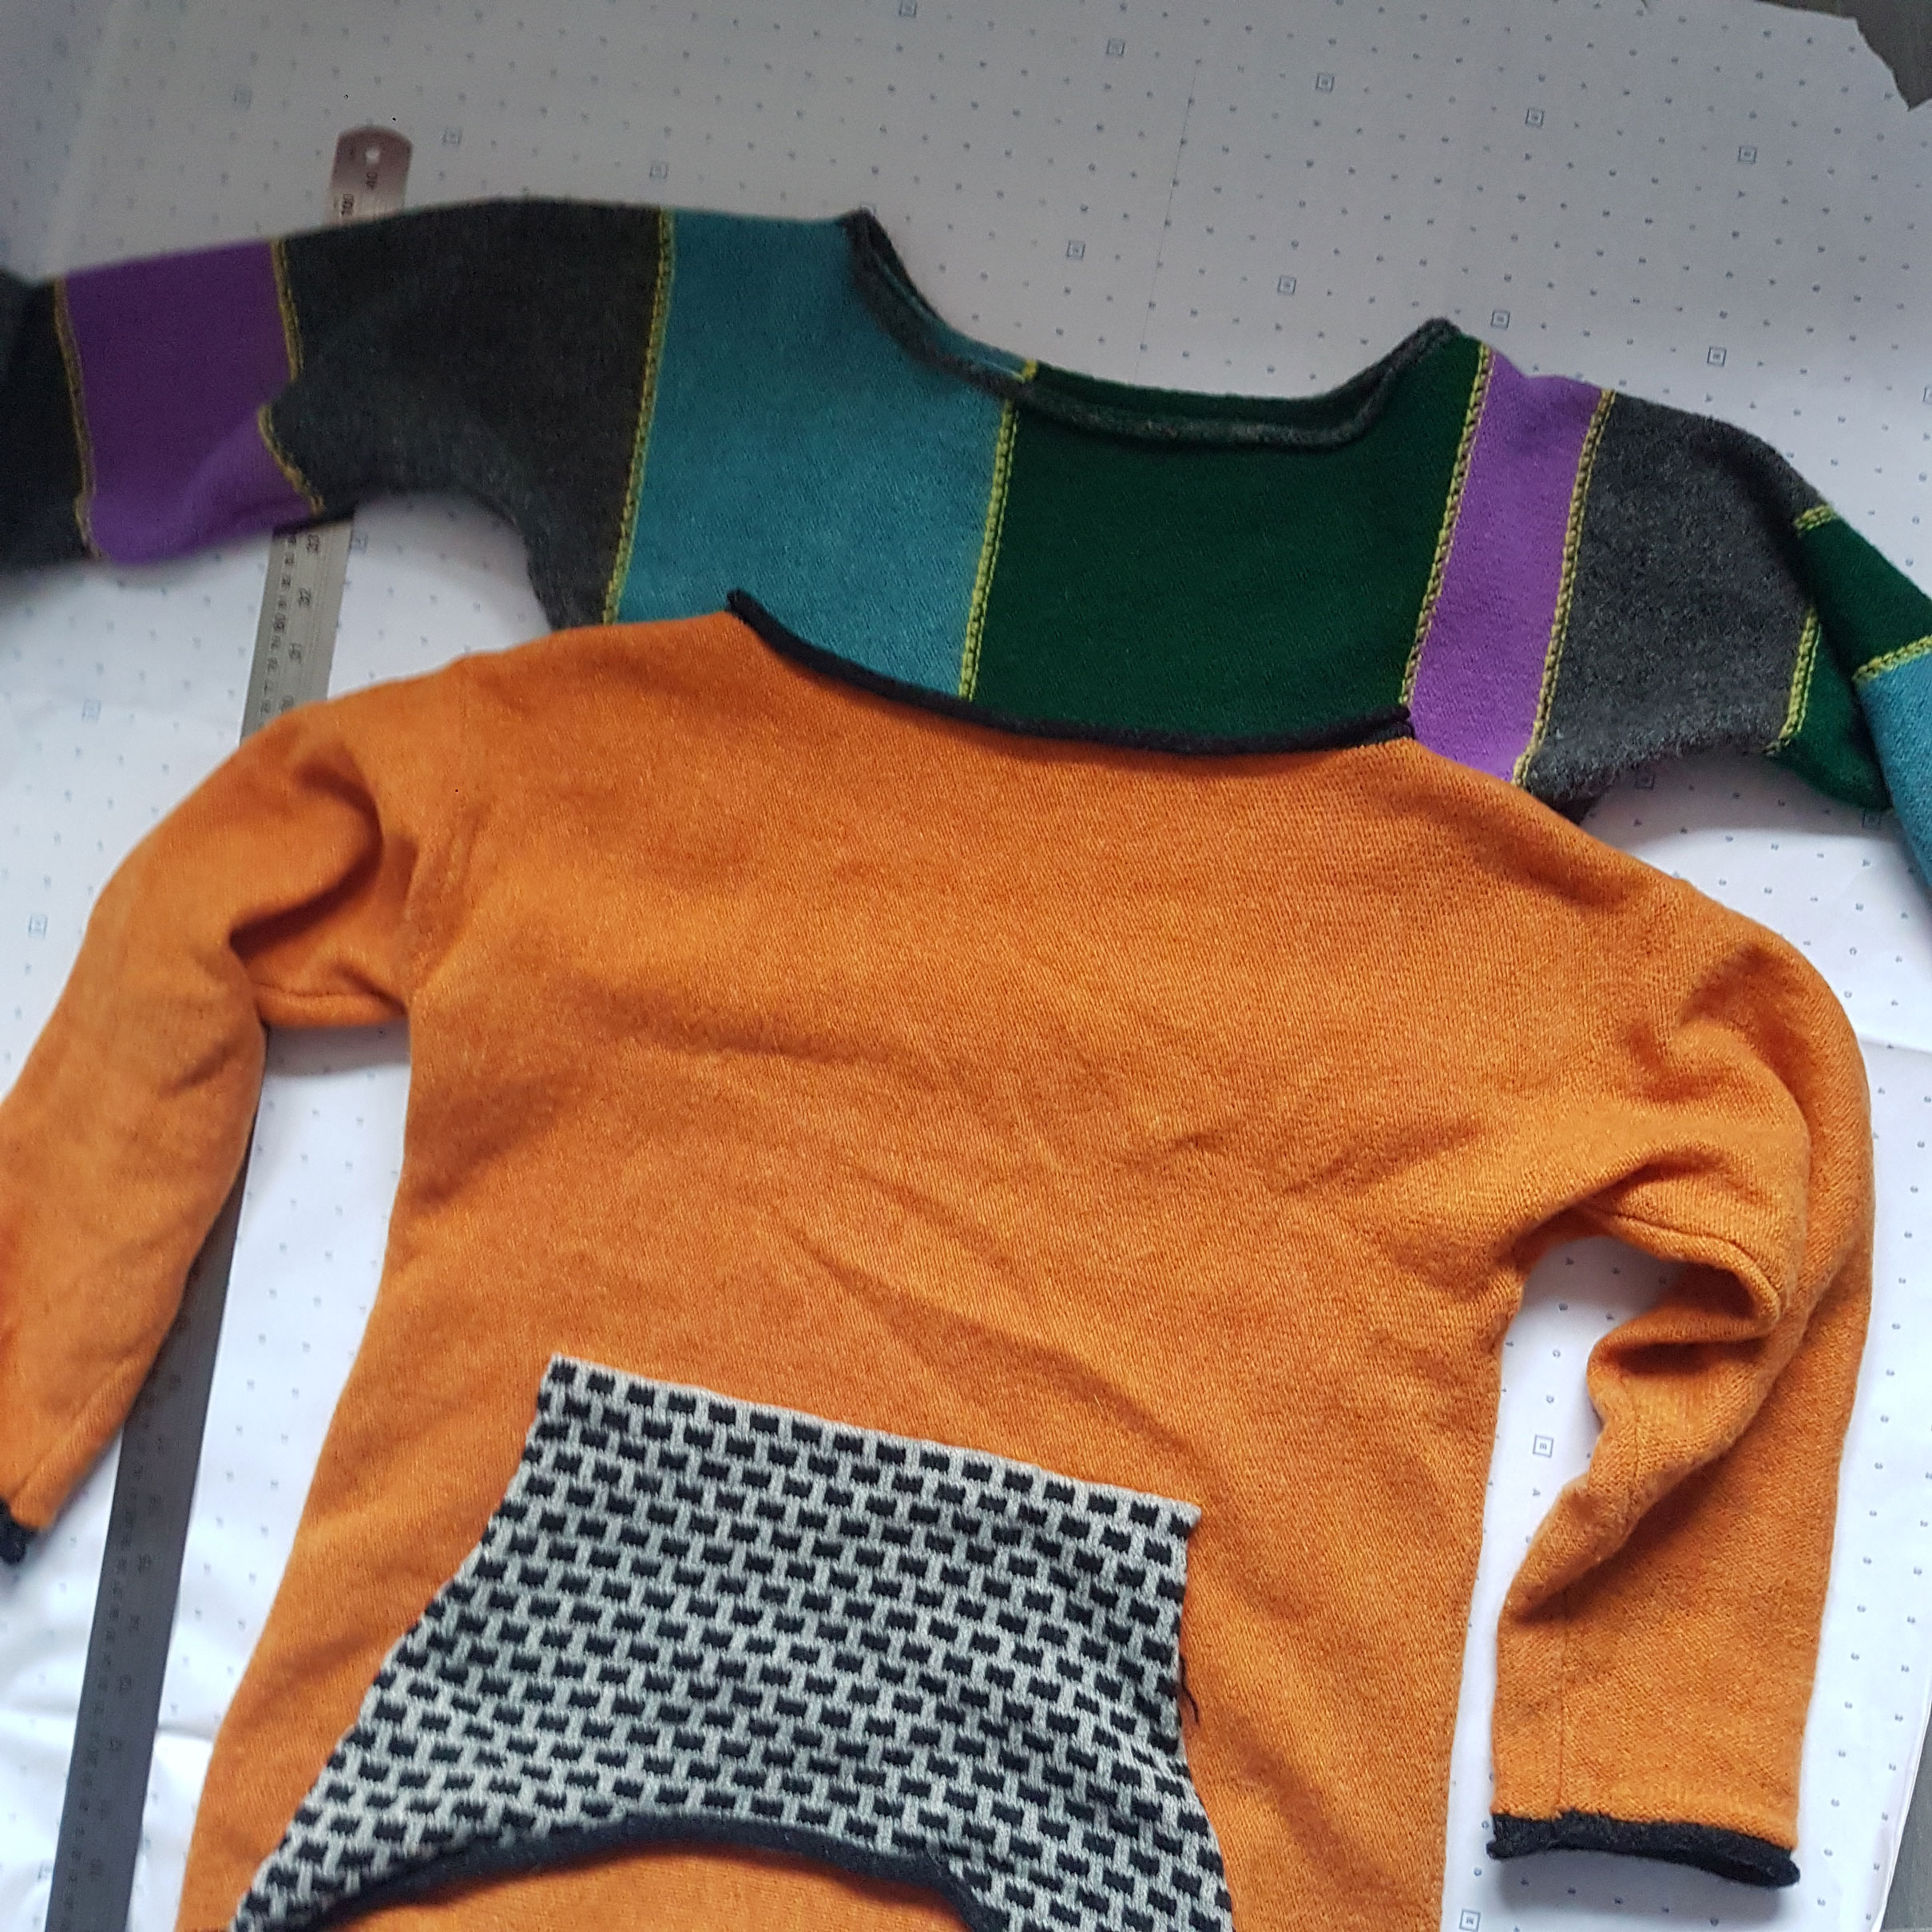
What I didn't realise during the making, assembling and blocking of this prototype was that I had made a jumper that was rather small! It was fine in length, but the width was completely wrong - I could just about get it over my head and the sleeves were way too thin! Frustratingly, I must have made an error in calculating the stitches per centimetre, resulting in this thin jumper. The old adage 'measure twice, cut once' springs to mind!

Burns, R. 2018. Boxy Sweater Development 8. Photograph.
Back to the drawing board, I decided to double check my paper pattern was a suitable shape by cutting a toile in jersey fabric. While it is not an exact replica of the drape of a knitted fabric, it provides a better idea than a woven fabric.
The shape looks good - boxy but not completely shapeless, and with a good sleeve length. I think the neckline may be a little too wide, especially as the knitted fabric is likely to stretch quite a lot.
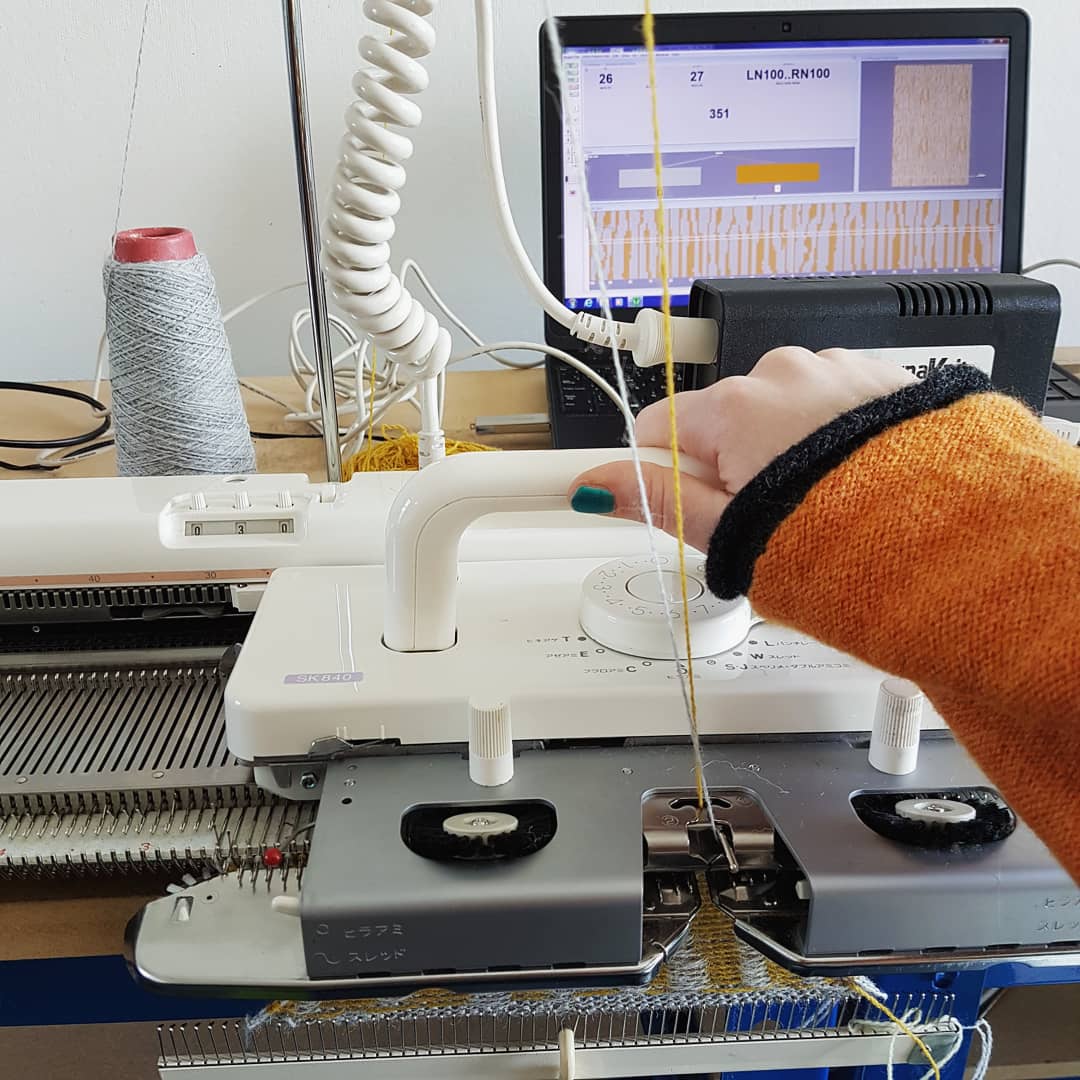
Certain that this time my pattern would work, I set to knitting prototype 2 with my actual yarn (Uppingham Yarns British wool in natural grey and coreopsis dyed ecru).
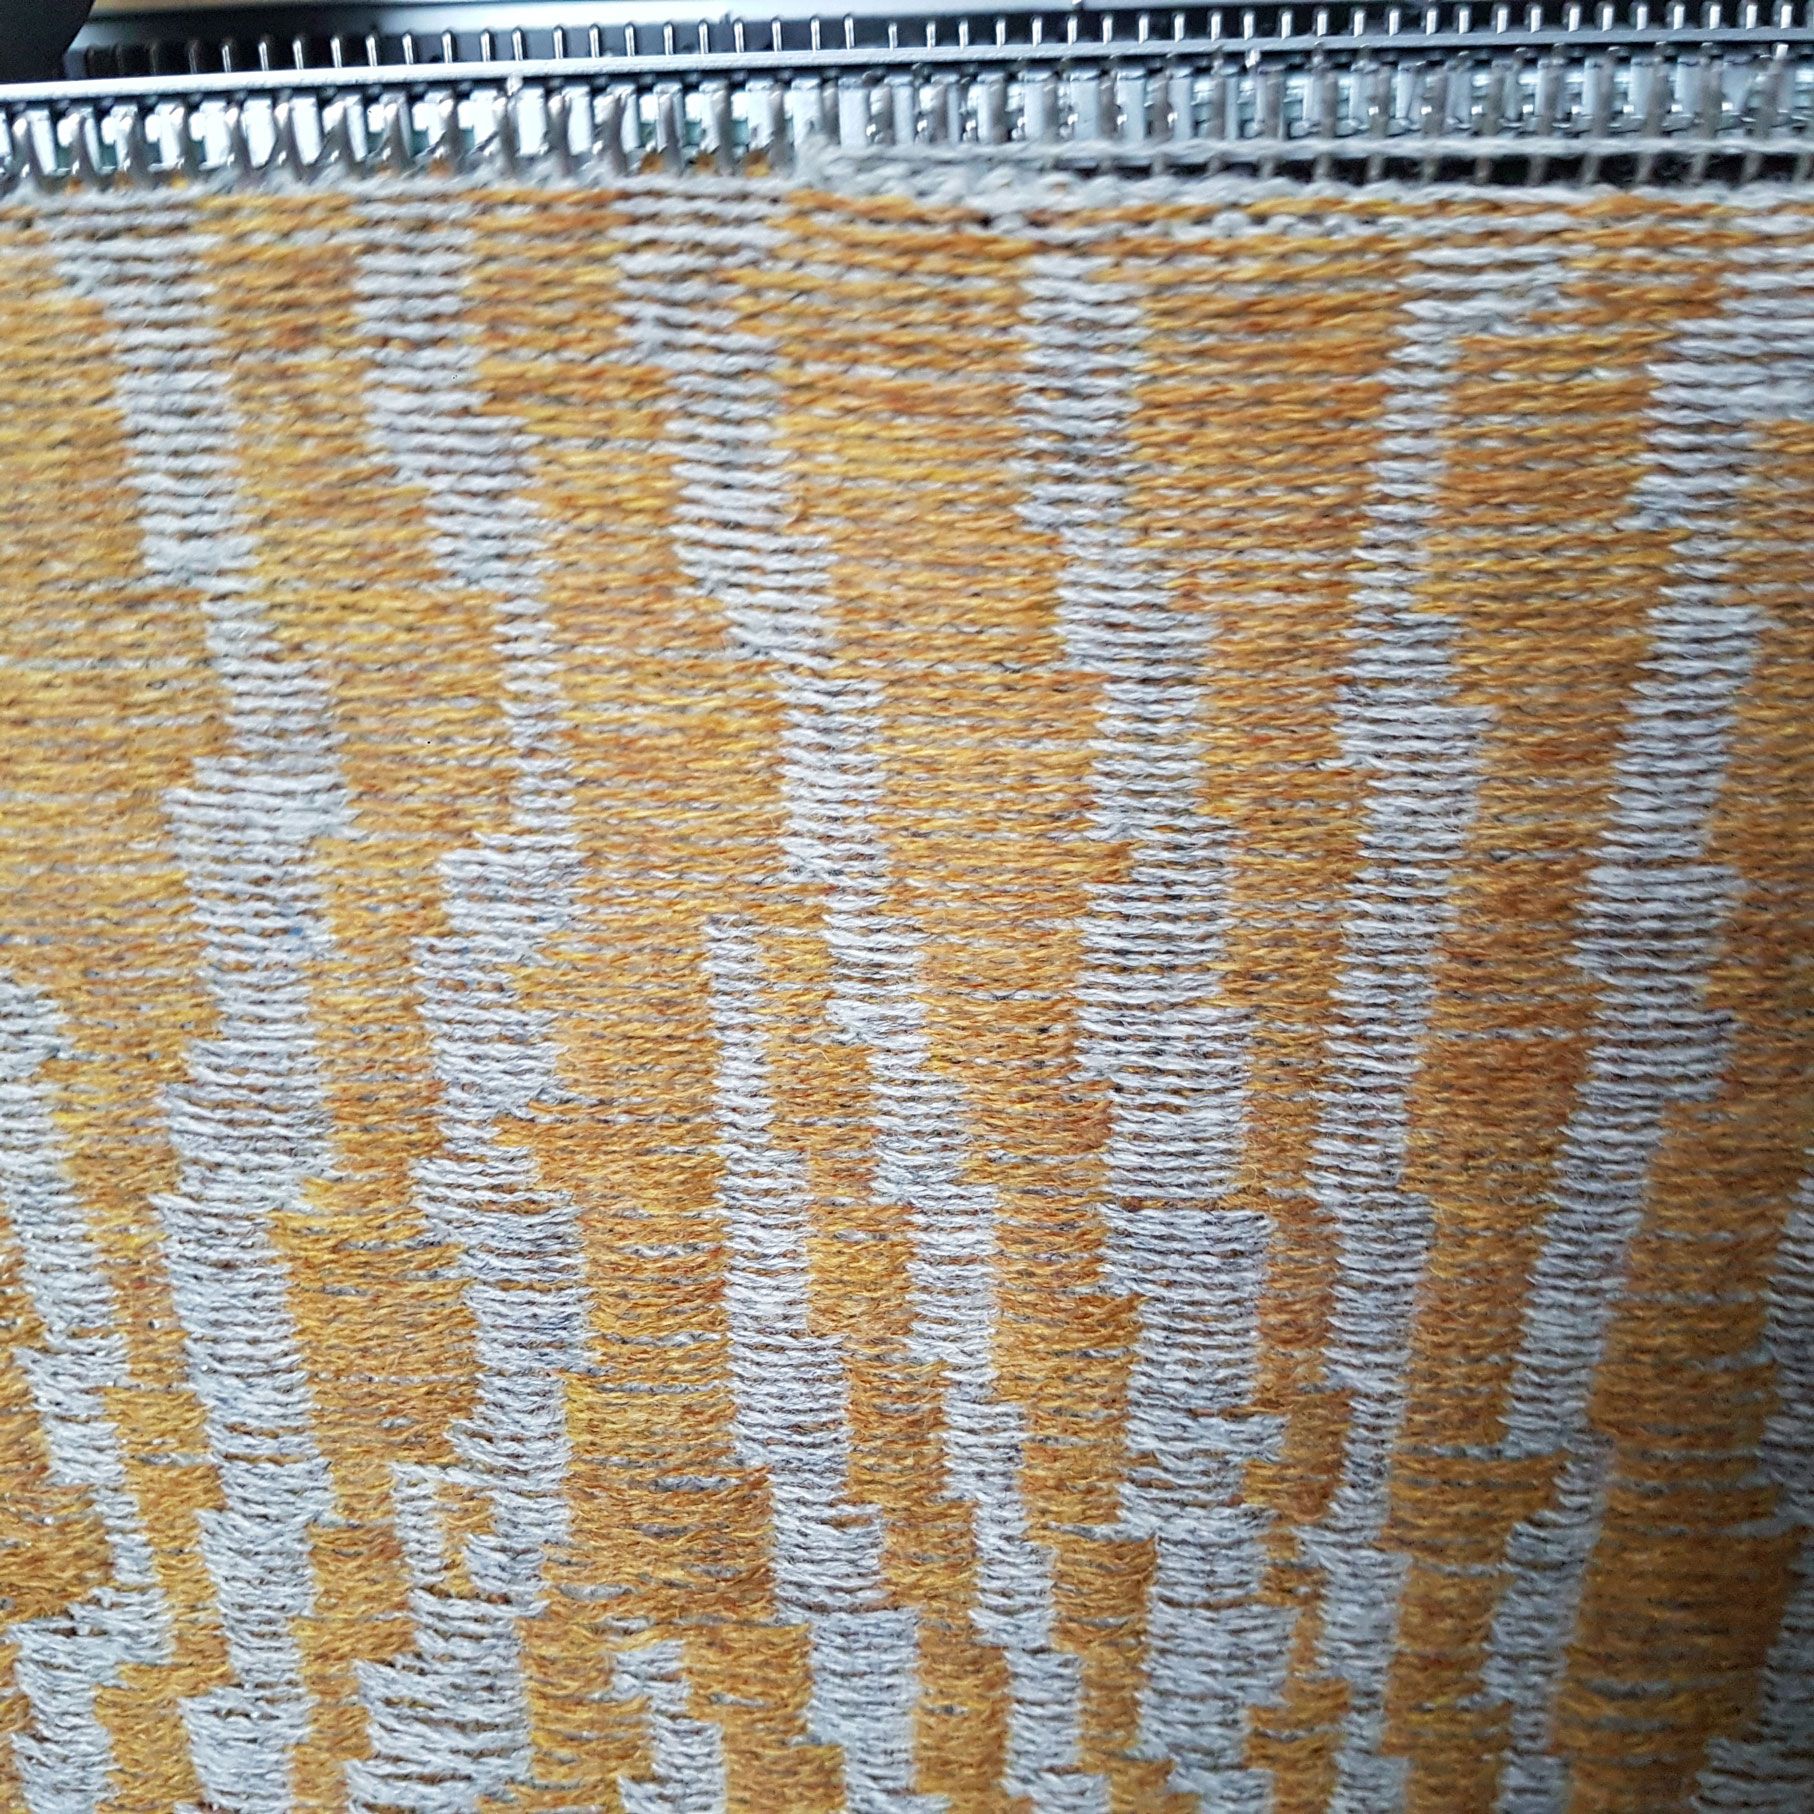
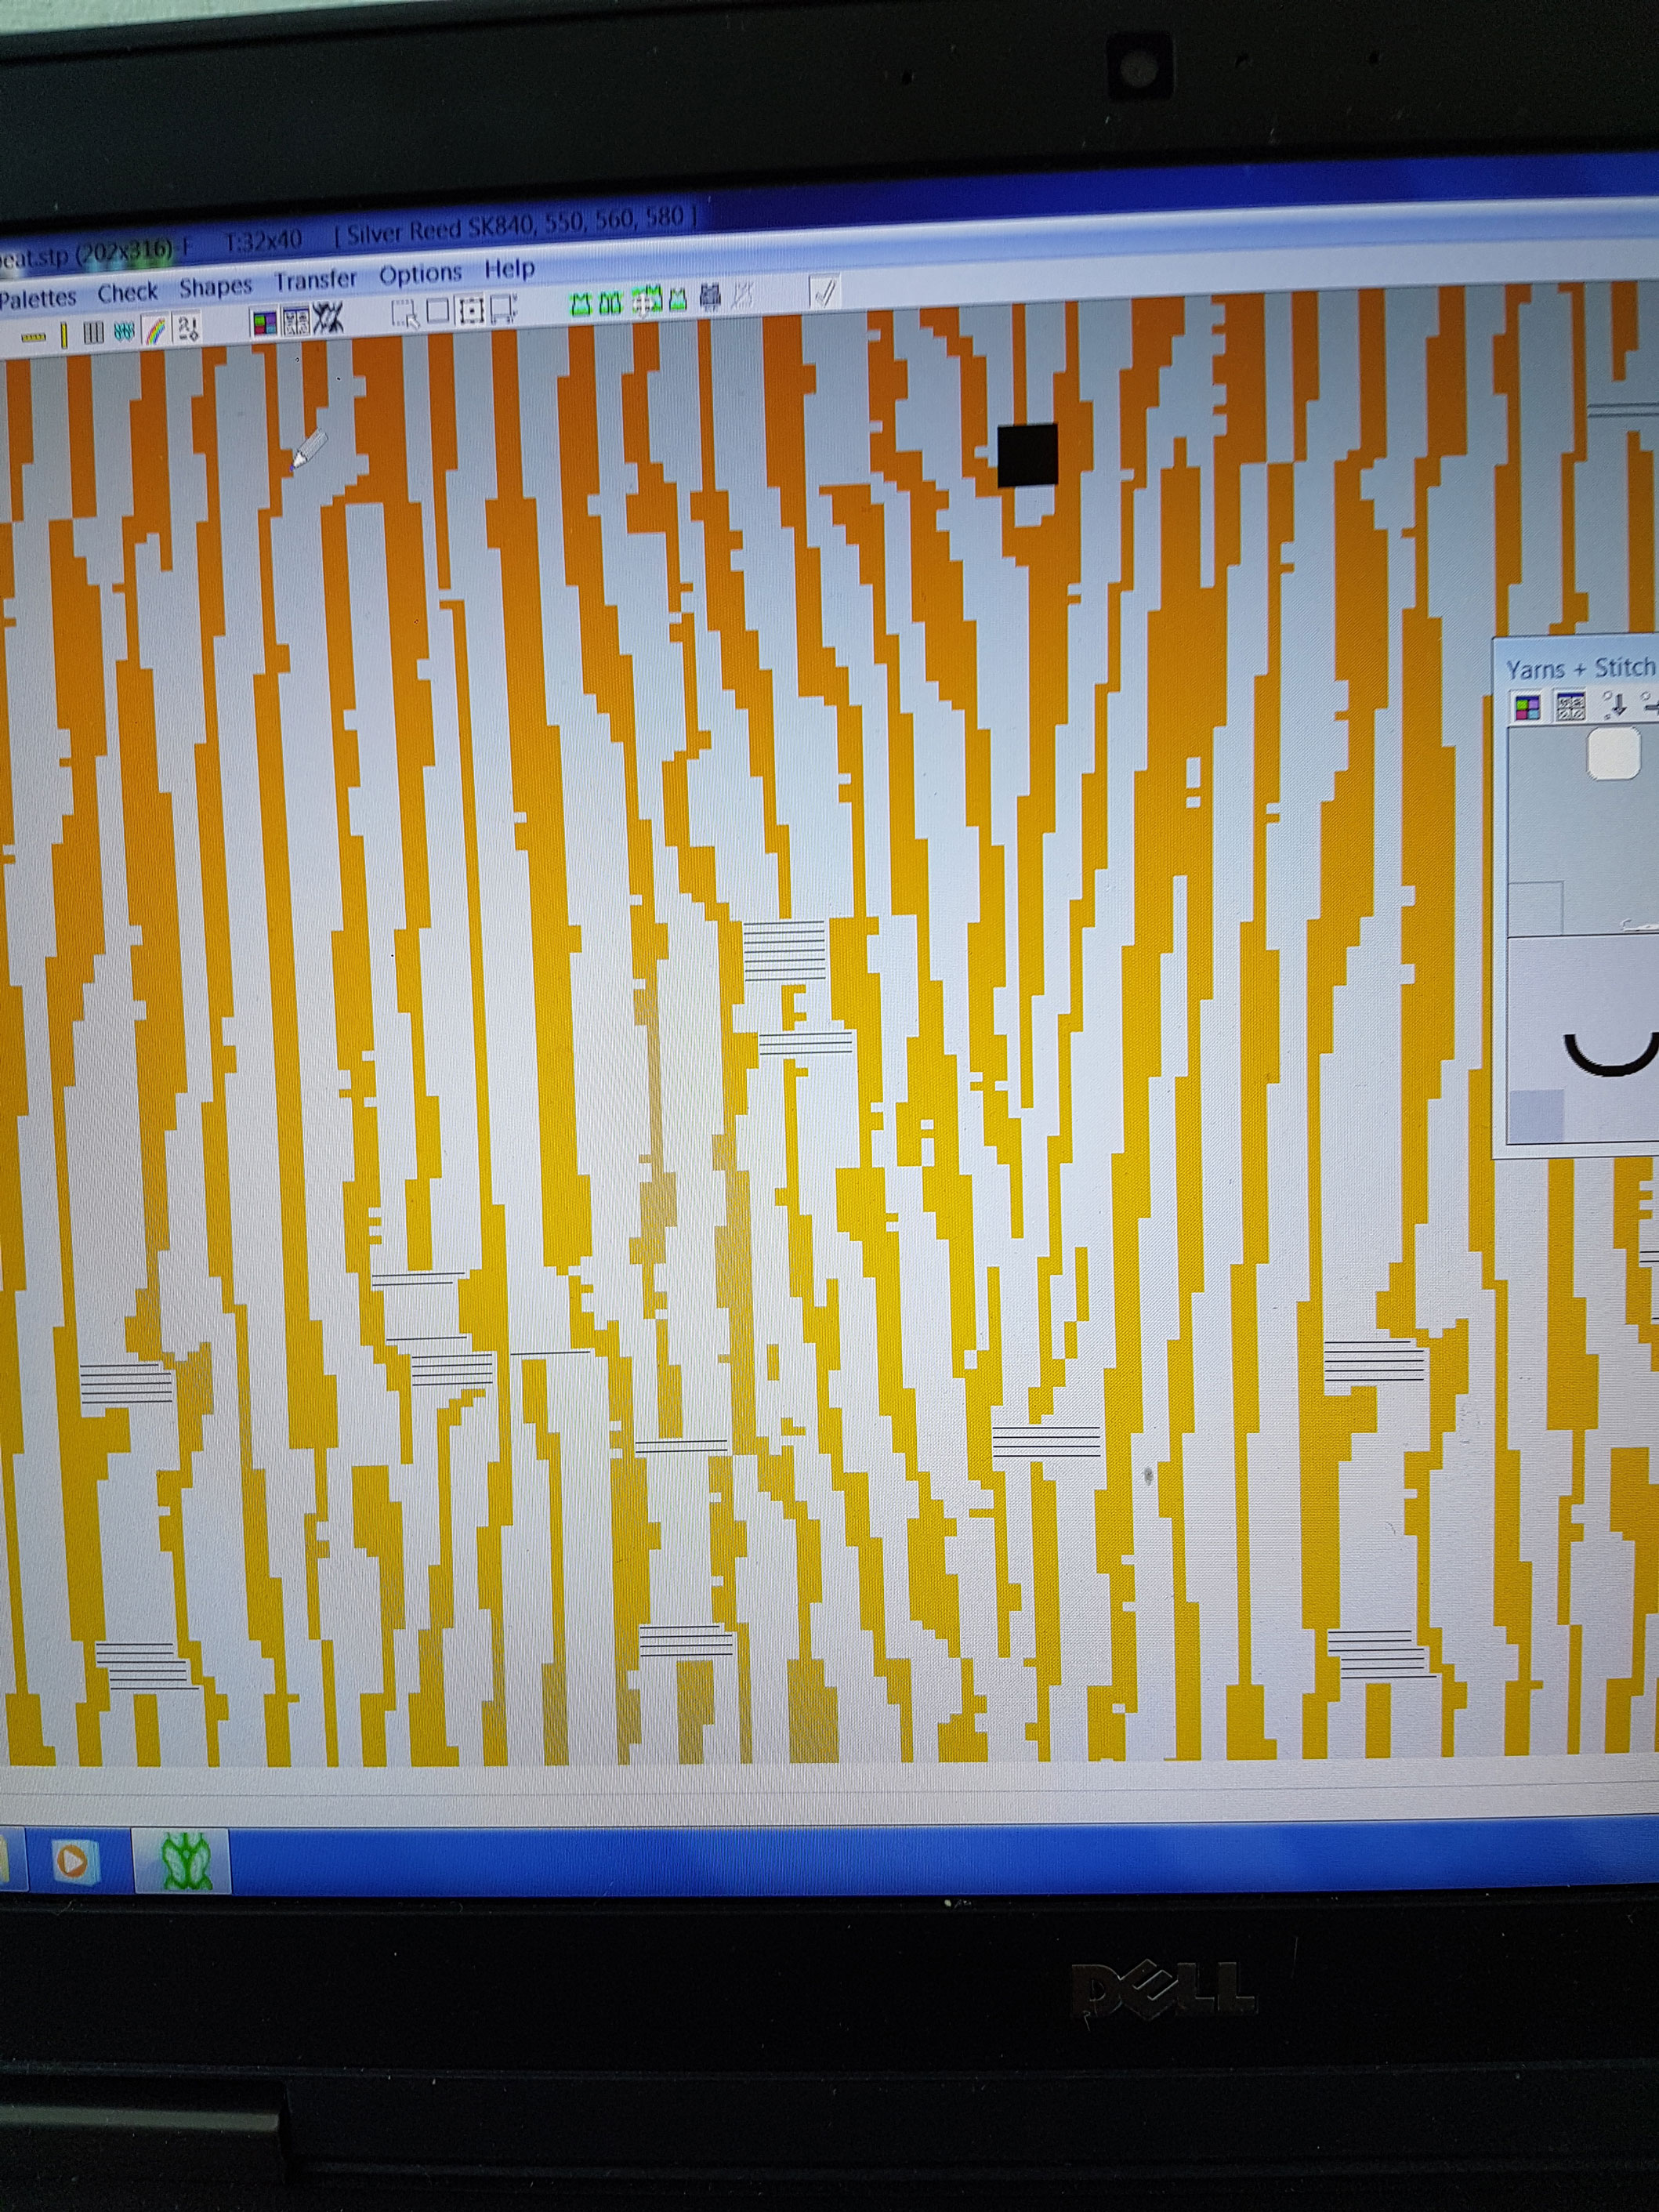
I had originally designed the stripe pattern in Designaknit, and, as the equipment was available to me at University, I used this version of the pattern. I first had to make the small swatch I designed last year into a repeat pattern in Designaknit. In the image below you can see the programme showing me where the floats were too big, which I rectified by adding extra stitches in the corresponding colour.
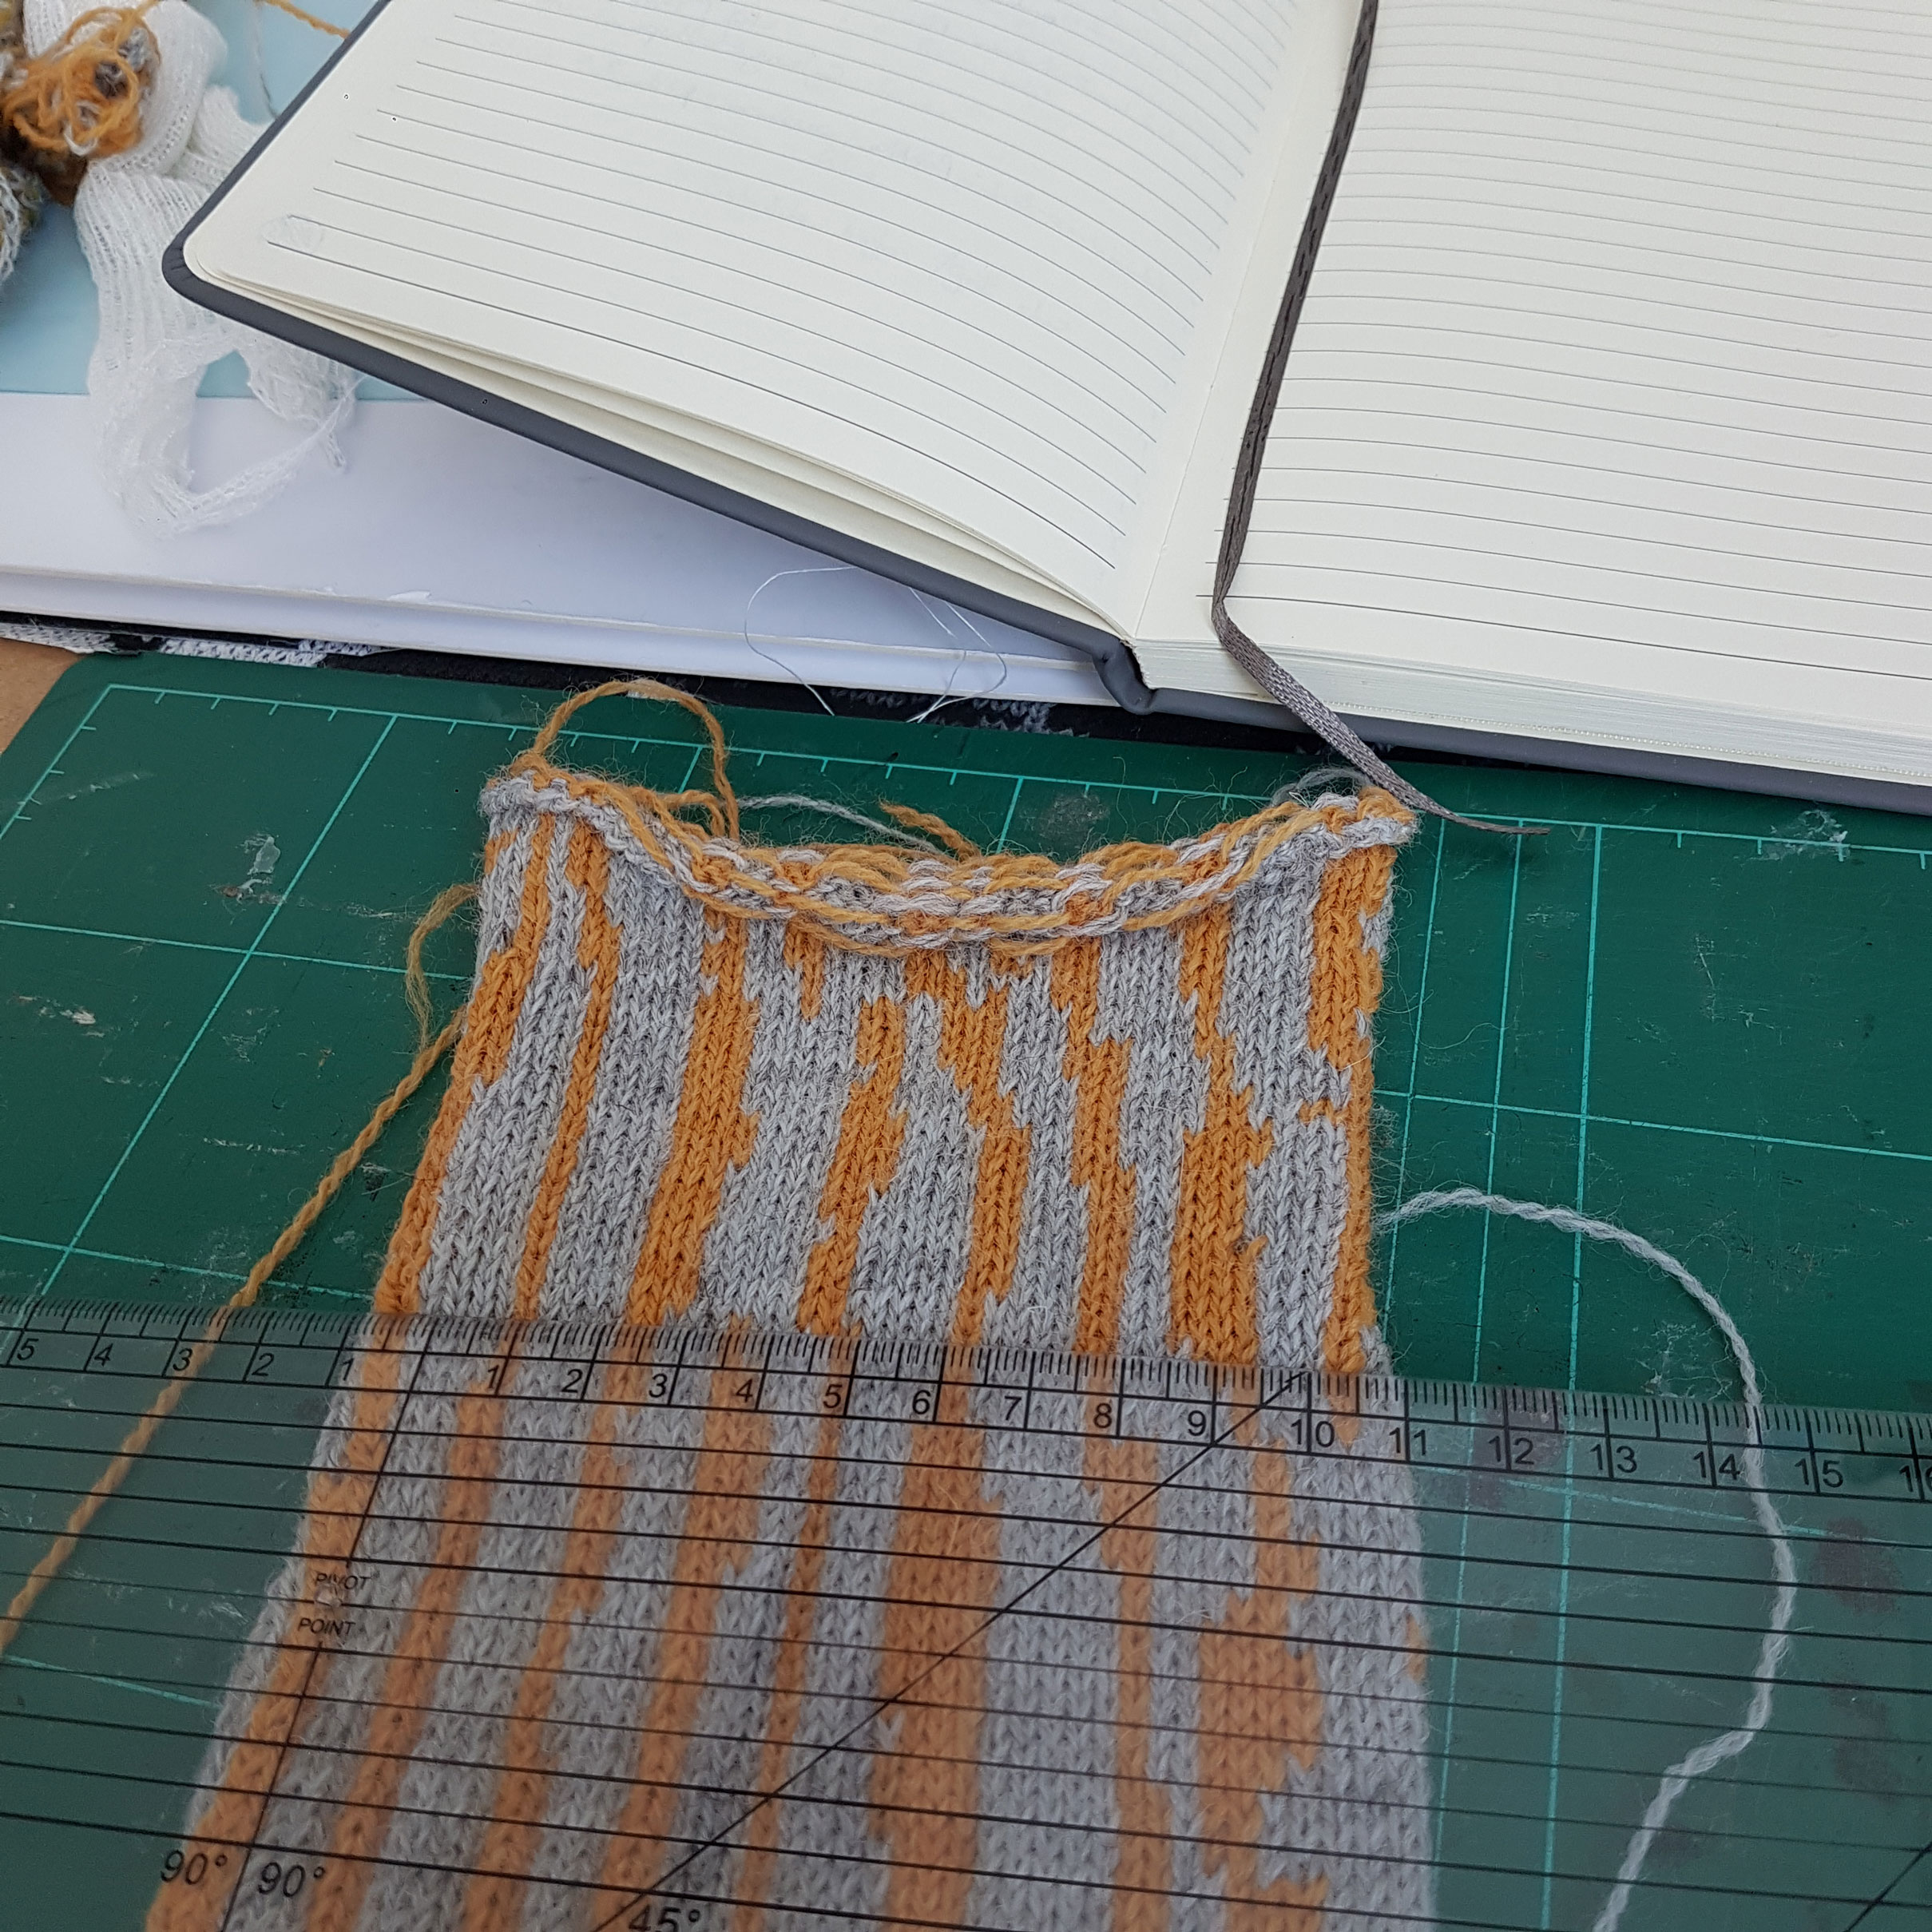
Using the paper pattern from before and a washed knitted swatch, I carefully worked out the maths for the sweater and started to knit.
Although my knitting started well, I had a lot of issues with Designaknit that day. The device kept mispatterning, and on some occasions, didn't knit a pattern at all. I'm not sure if it was down to static build up (this is a common problem with Designaknit), but it was a very frustrating day. To make matters worse, my yarn kept breaking. I'm not used to using Silver Reed machines - I have Brothers at home - and I think my lack of experience here got the better of me.
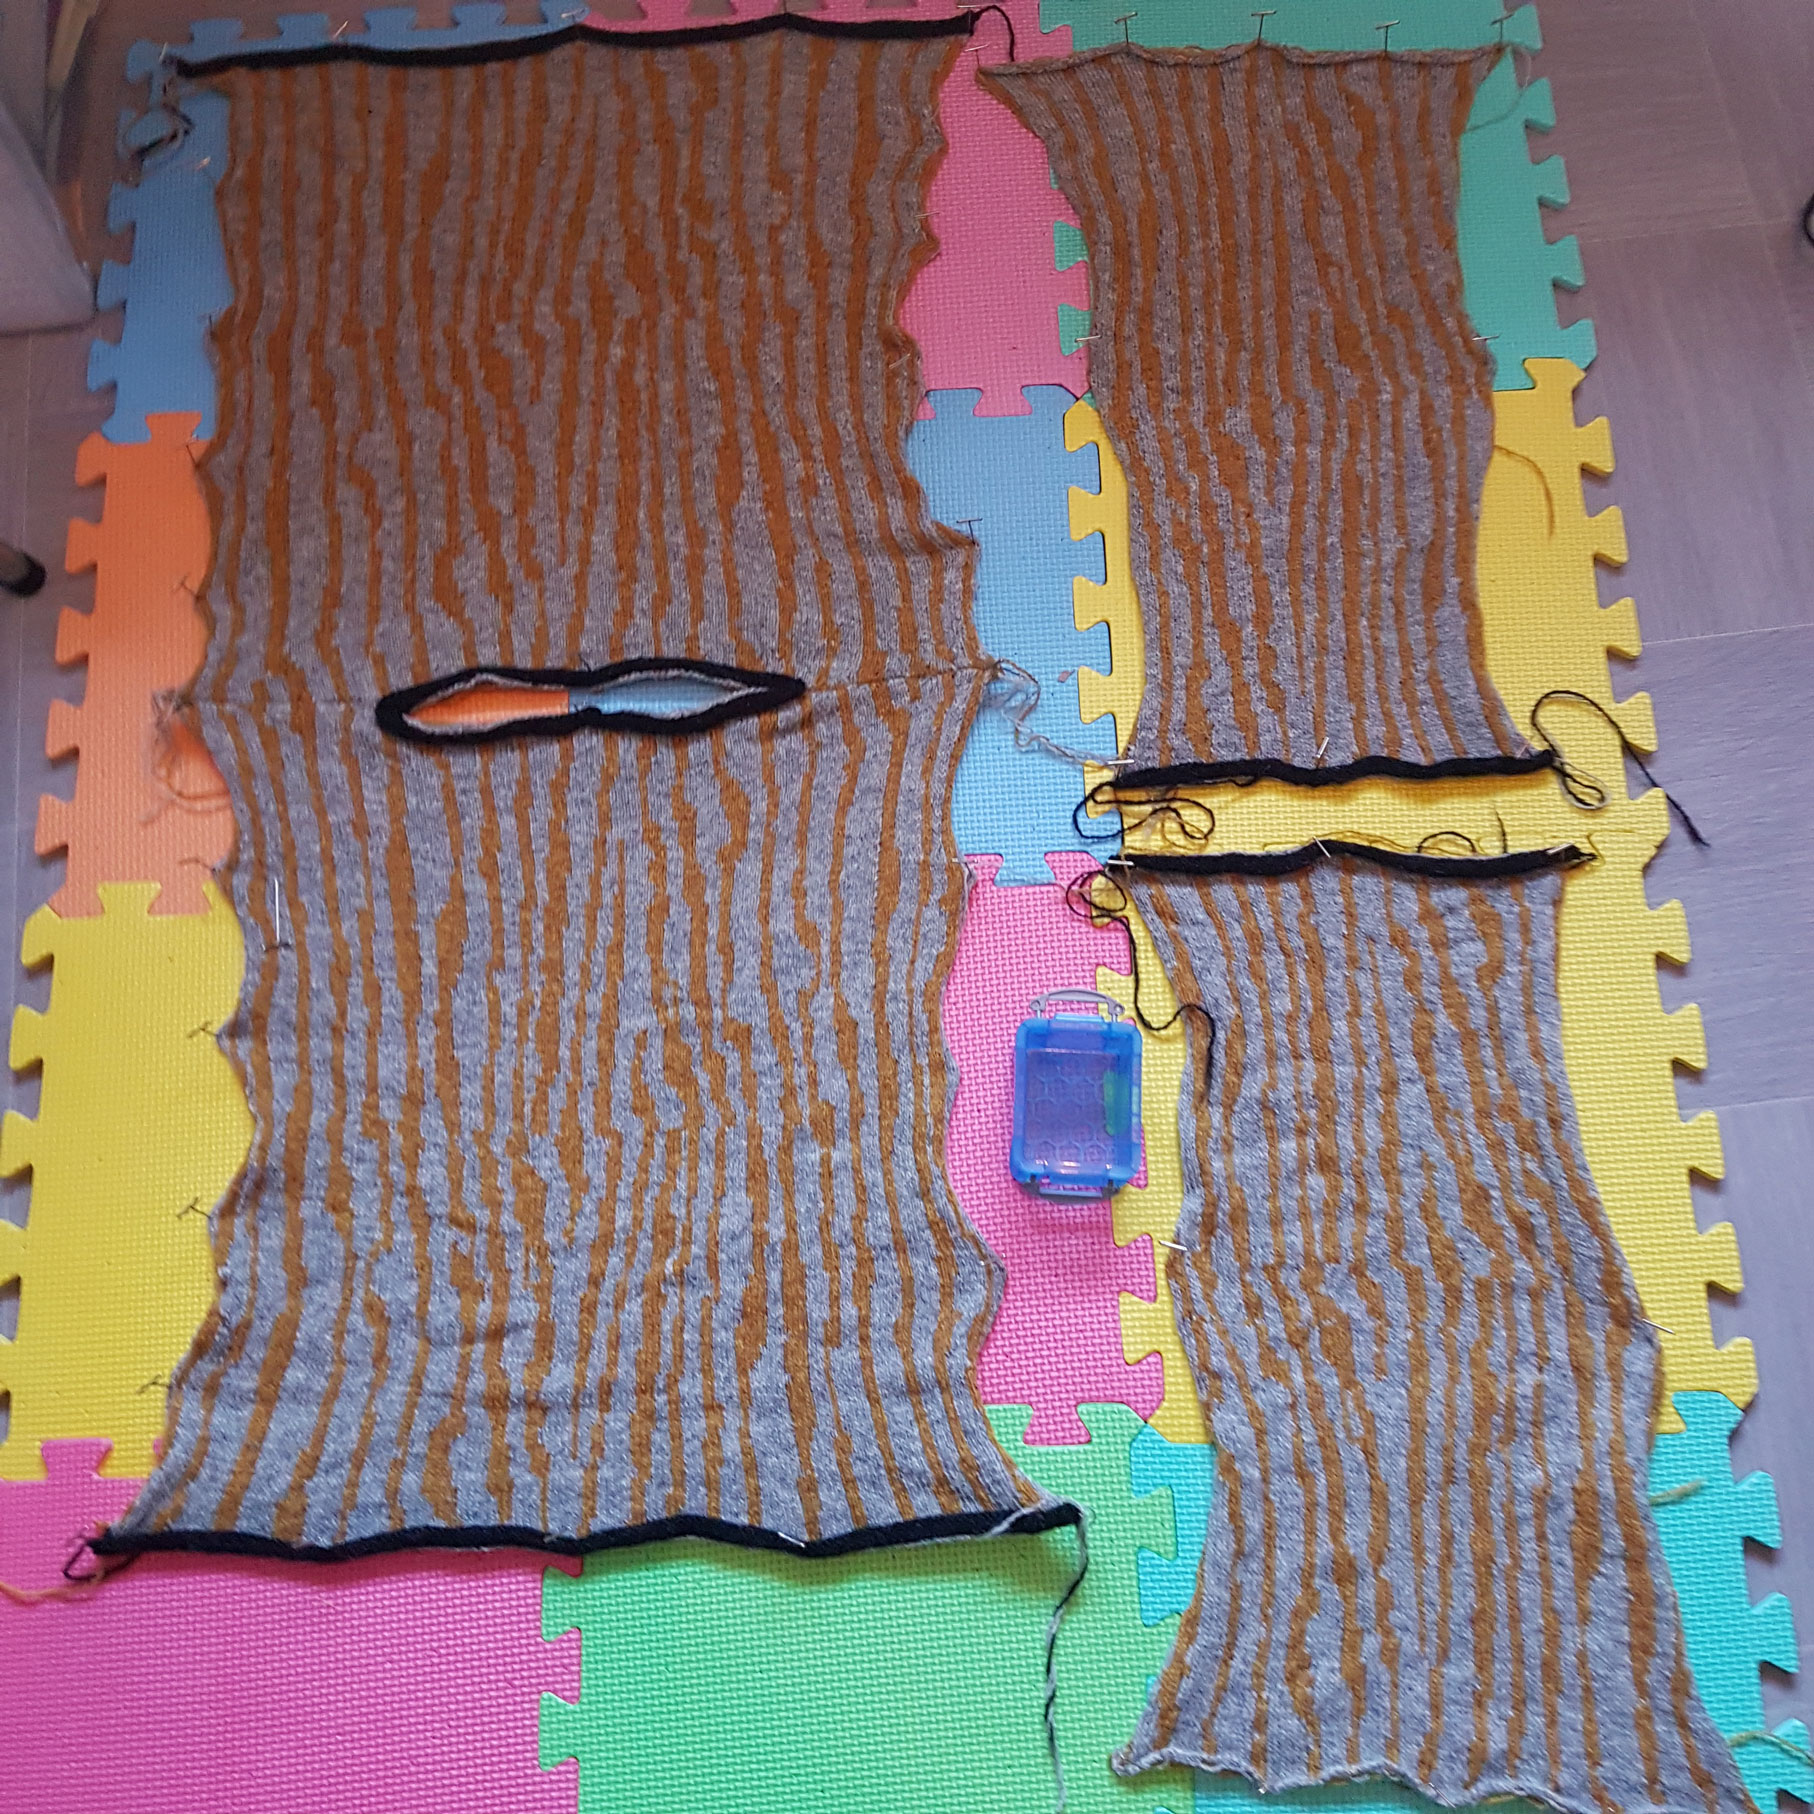
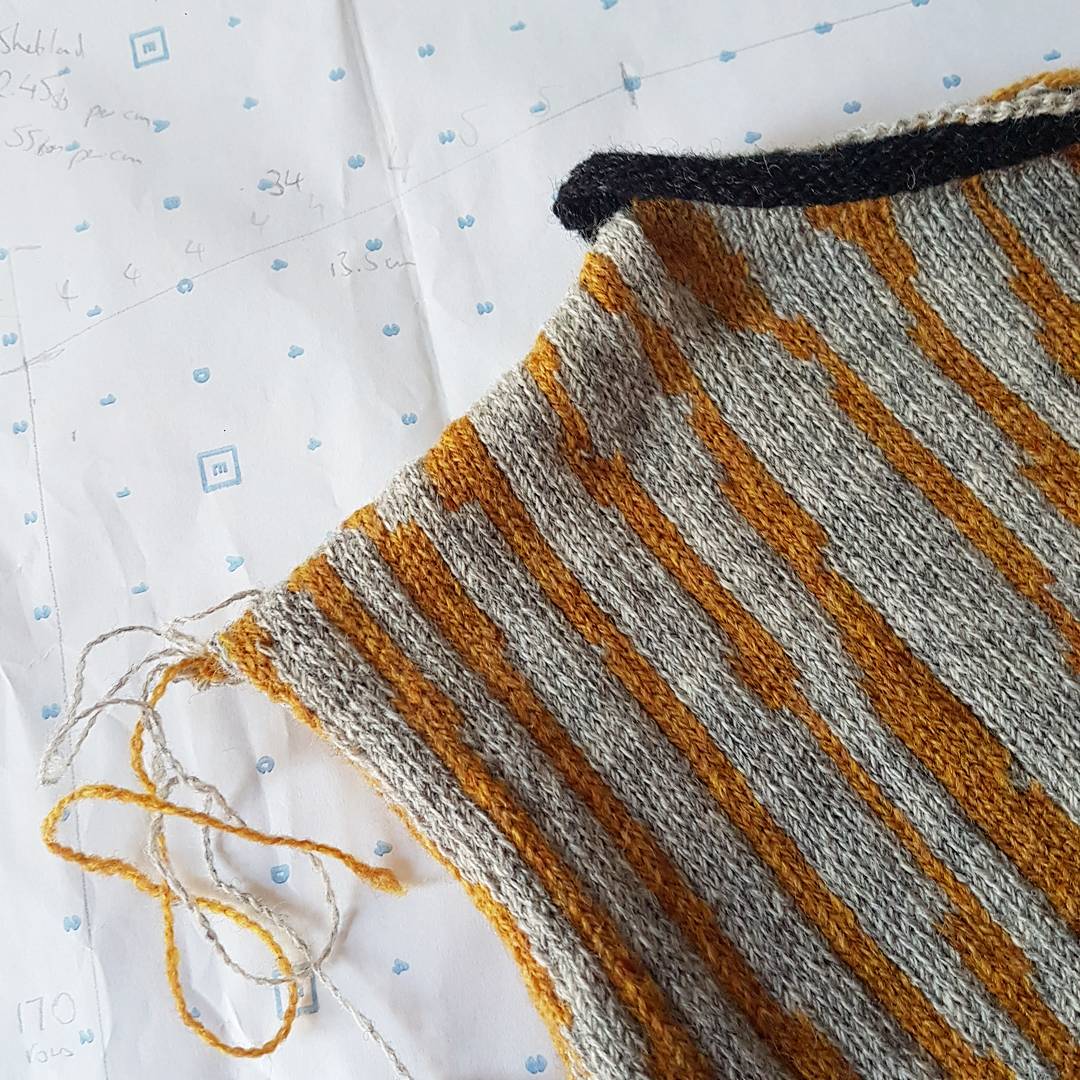
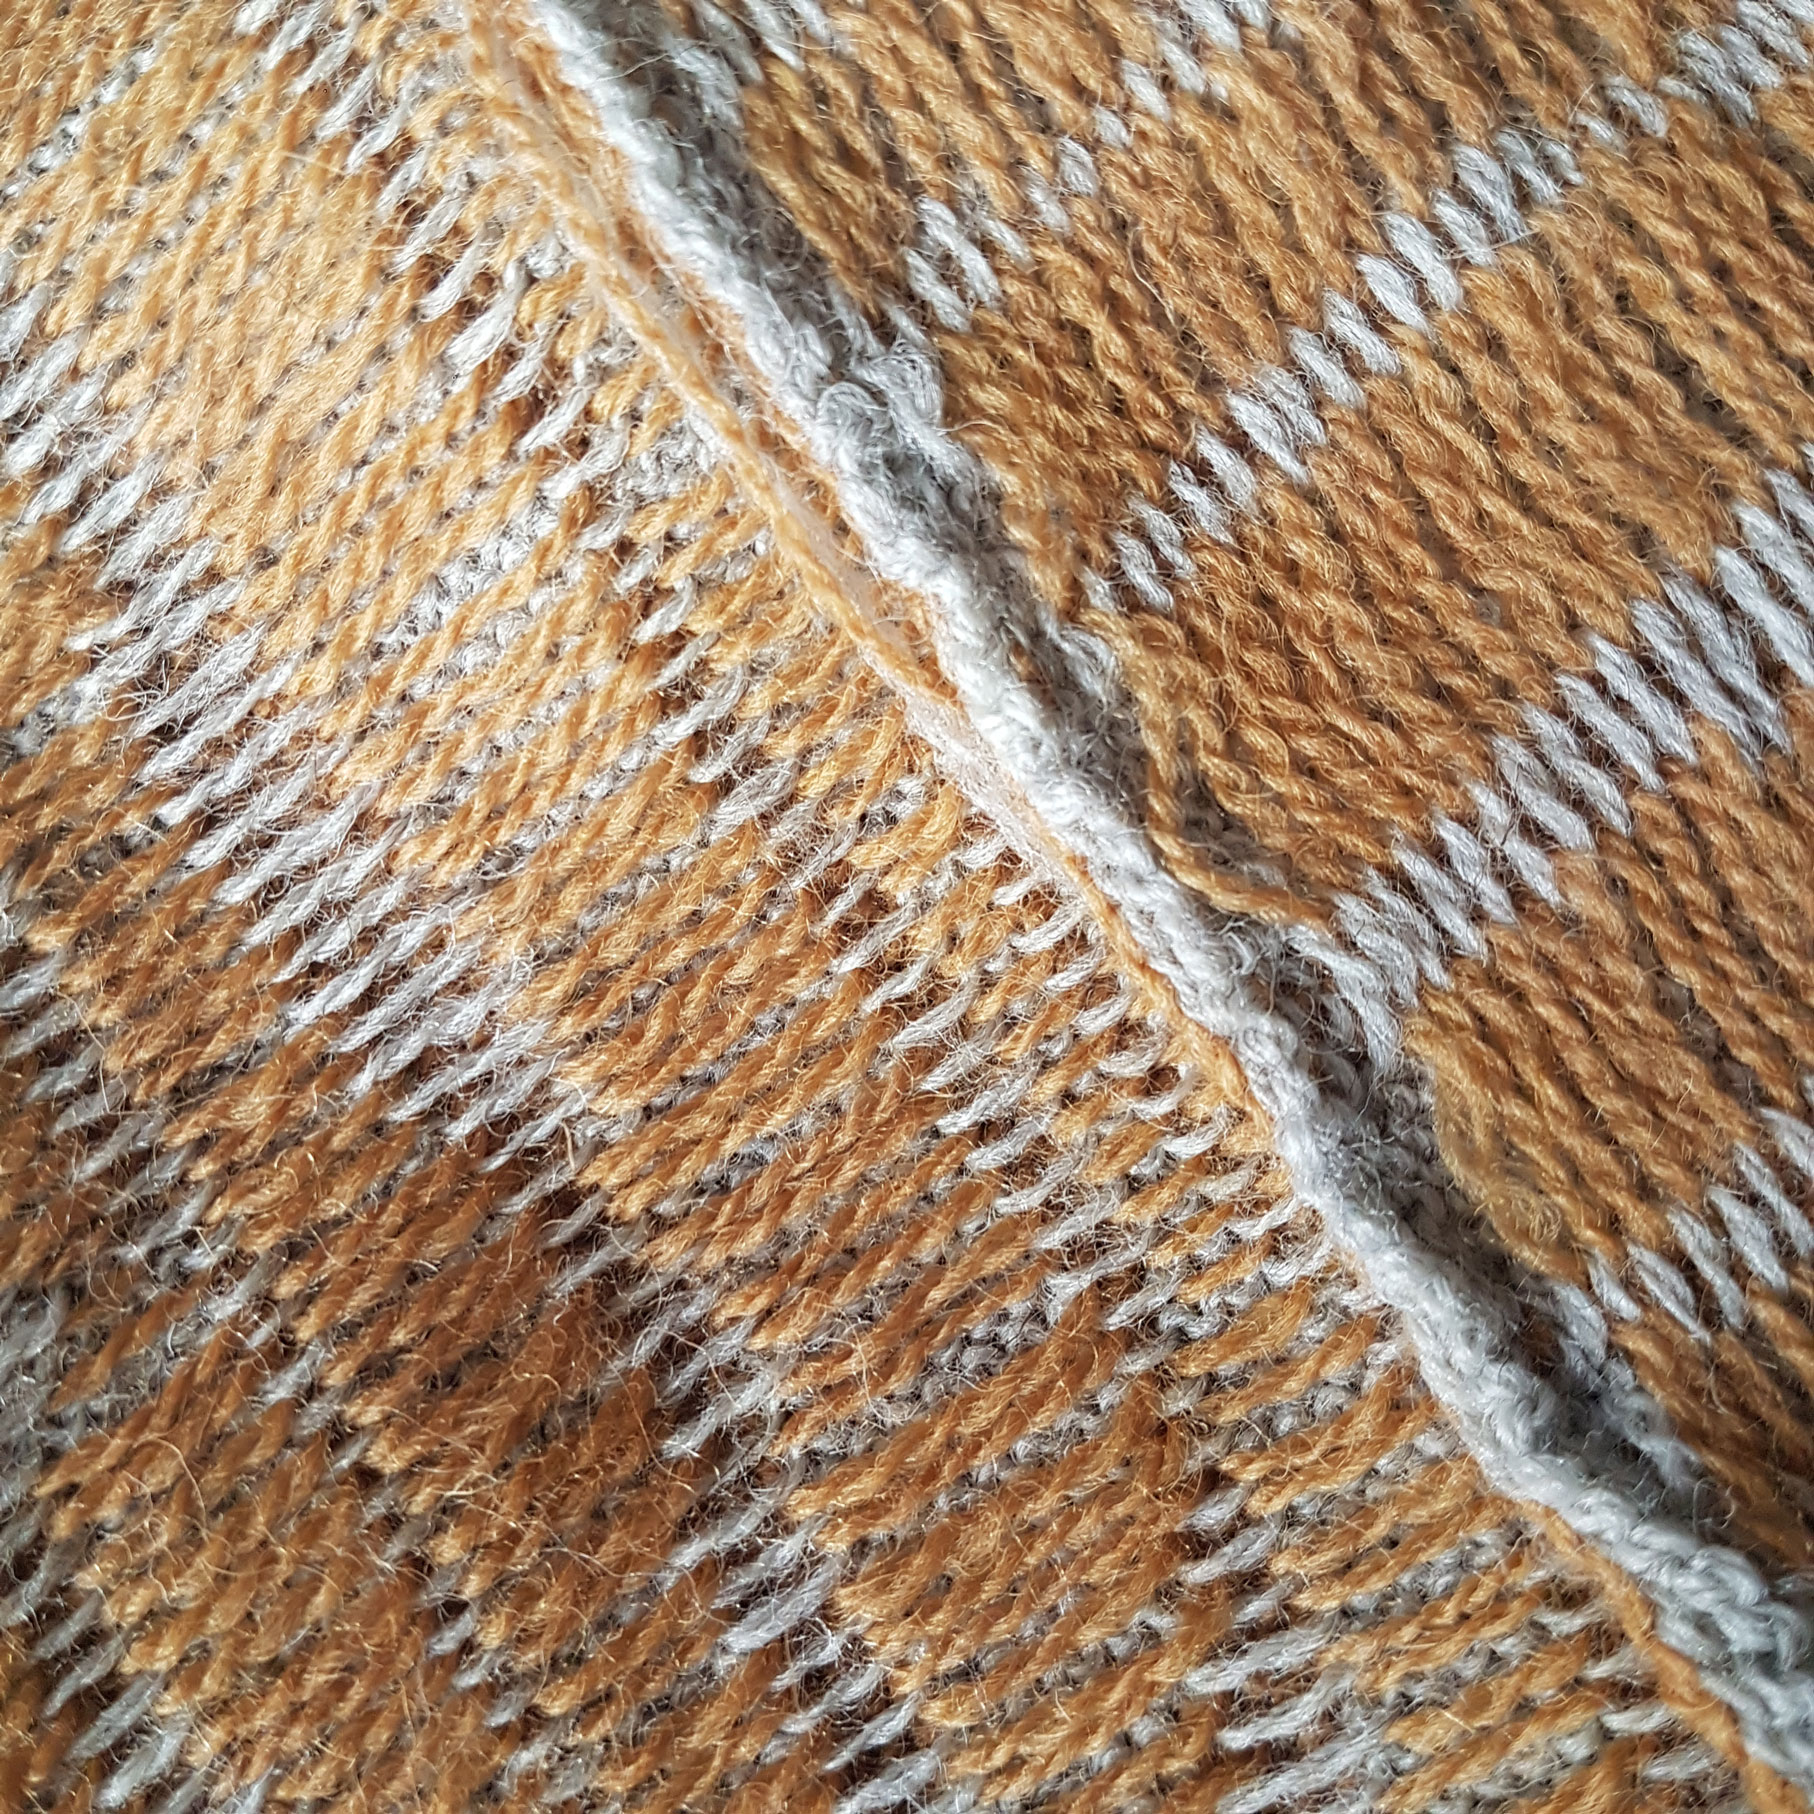
I eventually got the front, back and sleeves finished, but realised that one of the sleeves had completely mispatterned! The vertical stripes had turned into diagonal lines, which was really odd and no-one seemed to know why that has happened. This jumper was destined for the unravelling basket, but I was at least able to pin the body onto a mannequin to see what the shape looked like. I didn't want to press the panels as it would affect the yarn and I wanted to reuse it, so the shape was not completely accurate, however I could tell that I wanted to make the body and neckline a little less wide, and the body a couple of inches longer.


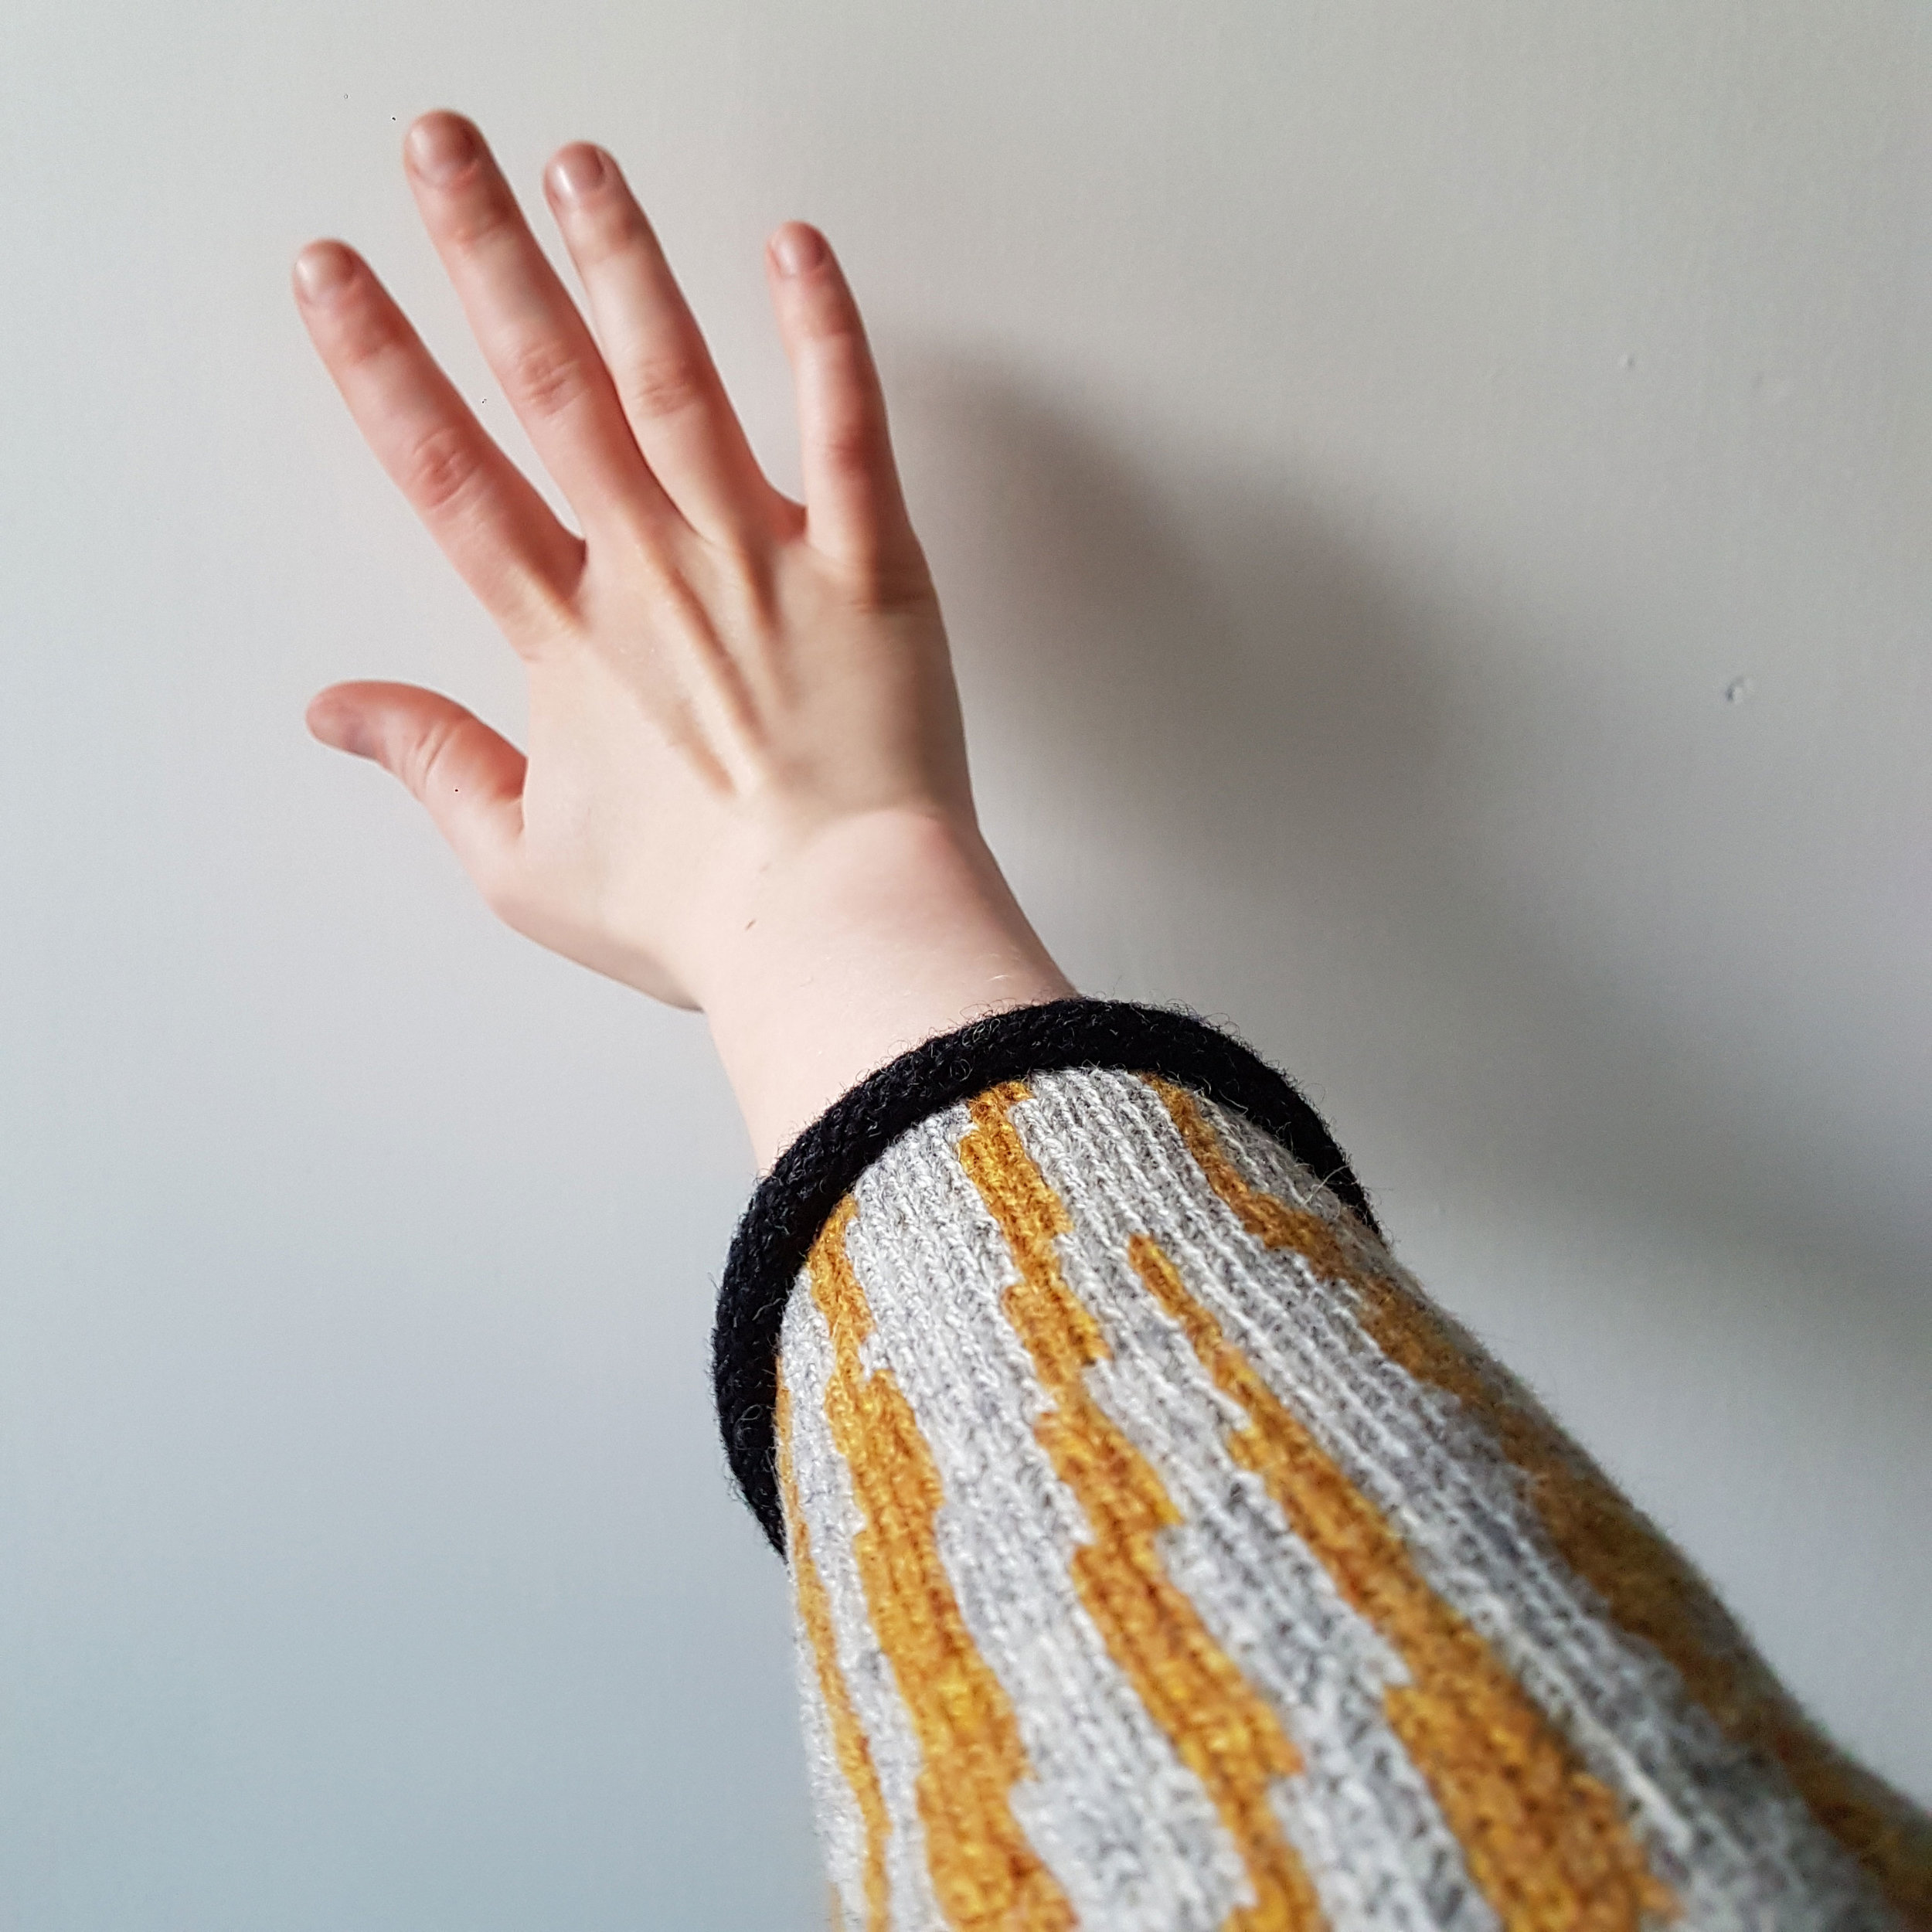
I made the amendments to my paper pattern and started on my third prototype, this time on my Brother computerised machine and yarn dyed orangey-brown with rhubarb root. It seems that the third time is the charm, and I knitted this quickly with minimal stress! I really like the colour combination of the stripes, and the repeat pattern seems to have worked well. The simple rolled edgings haven't worked as well as they have on previous versions, they are a bit wavy and so I think I might re-knit these at a tighter tension, or choose a more sophisticated edging such as a rib.
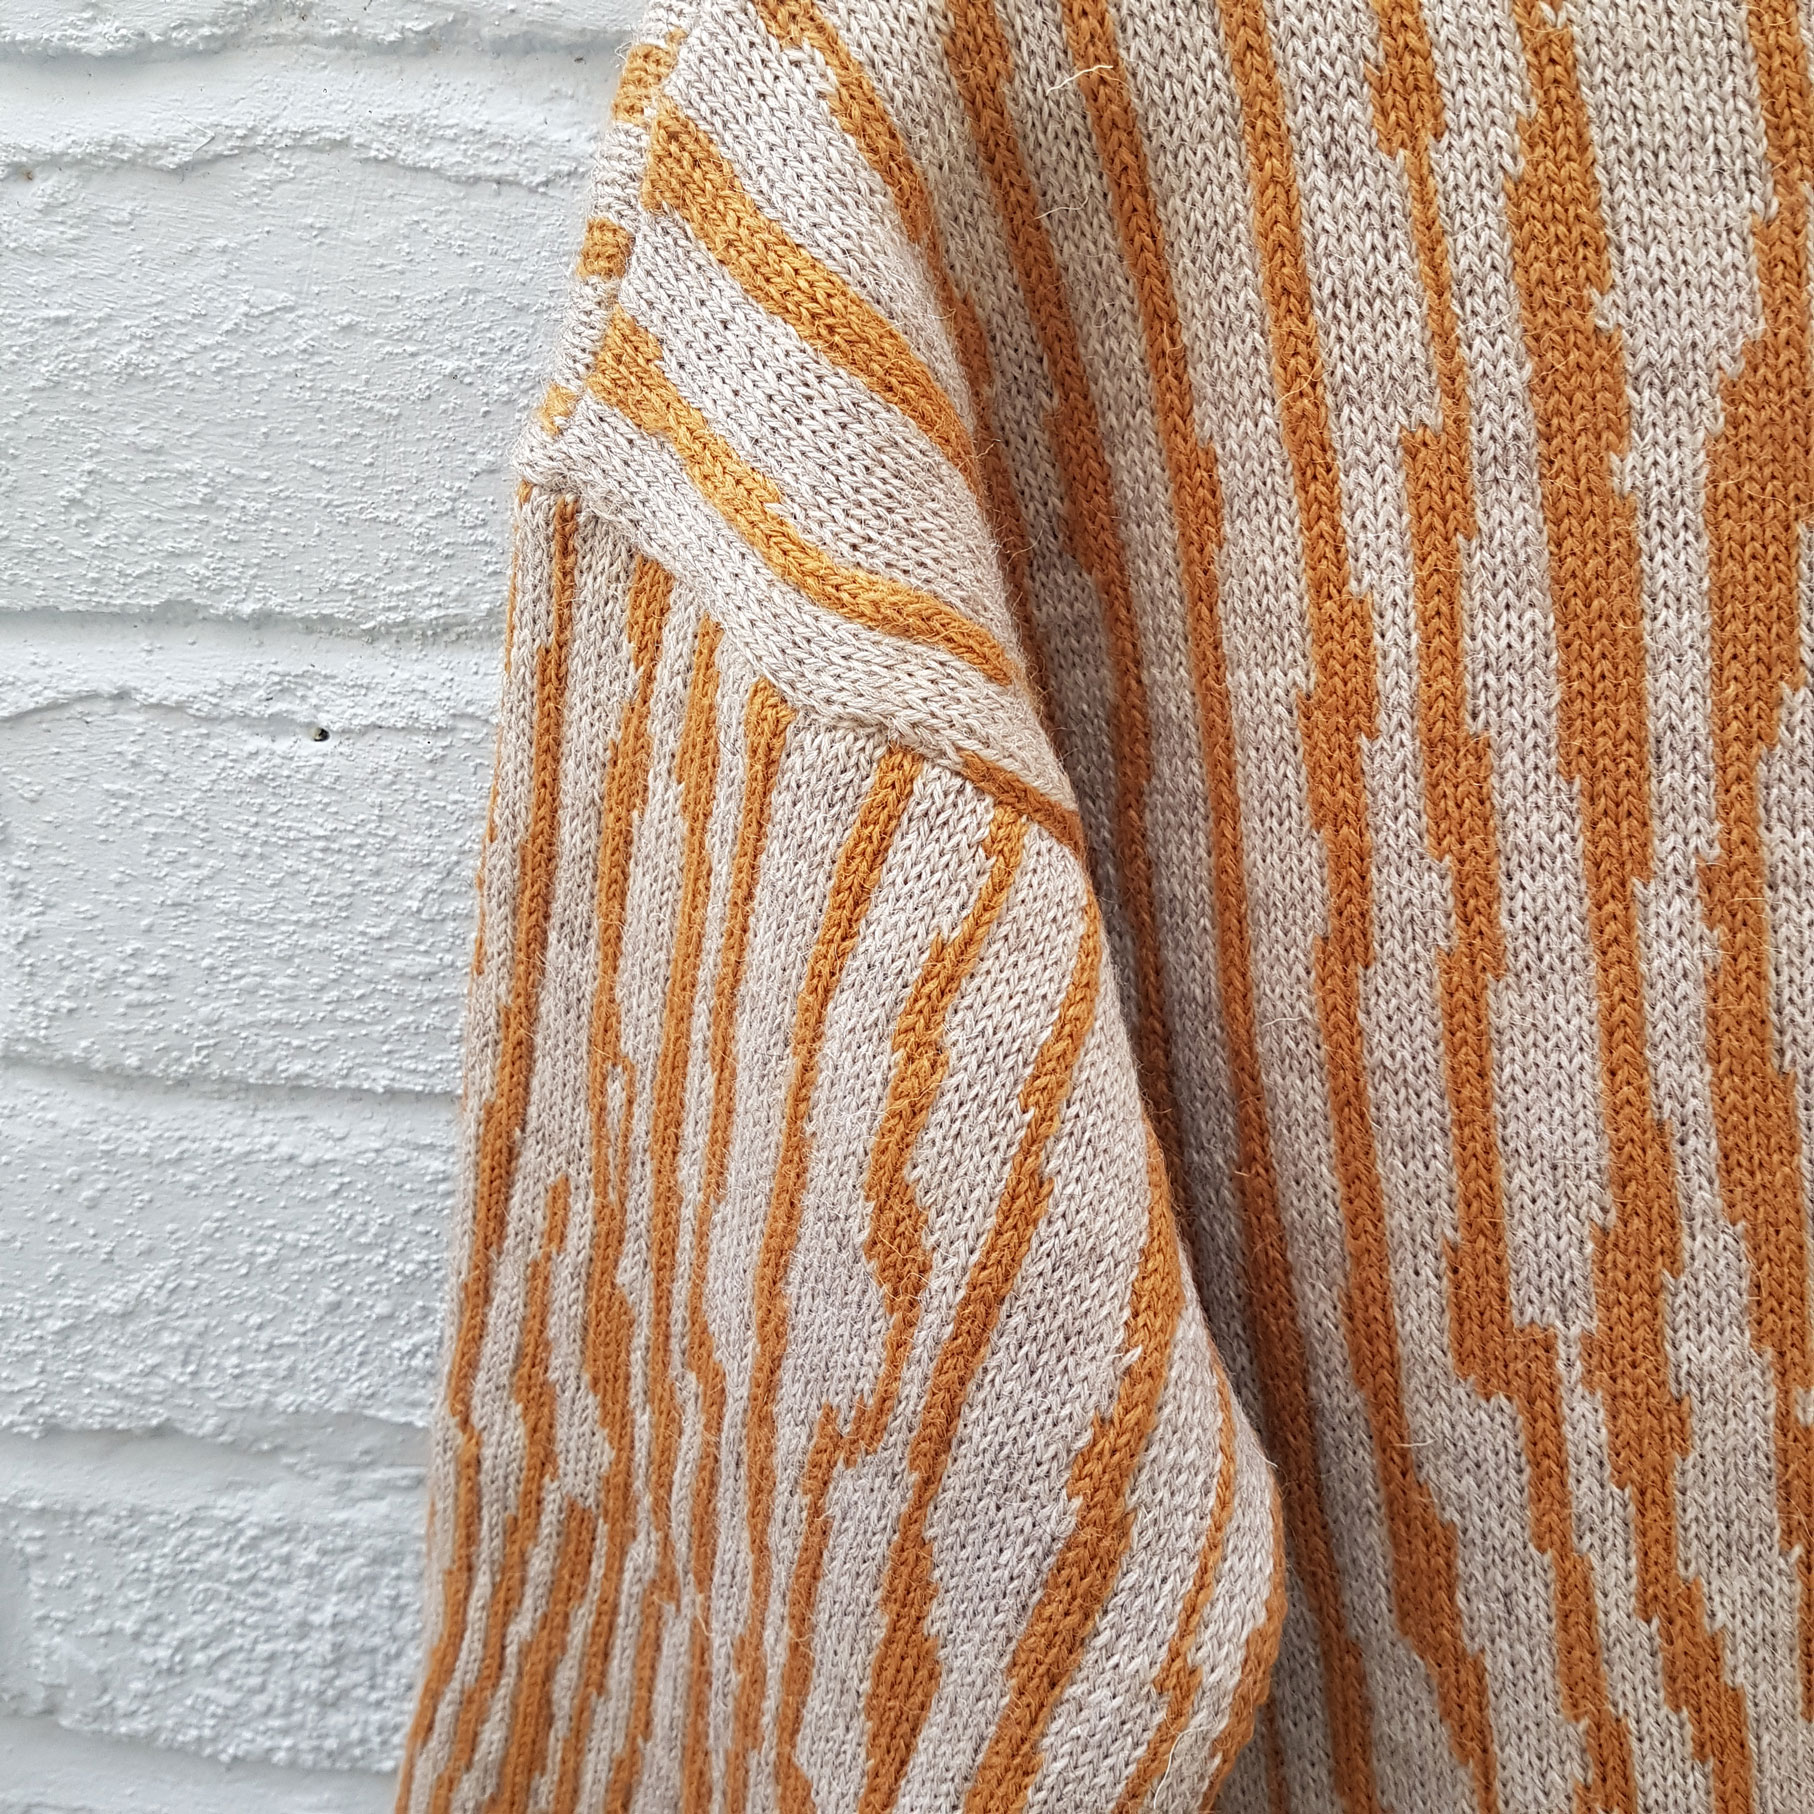
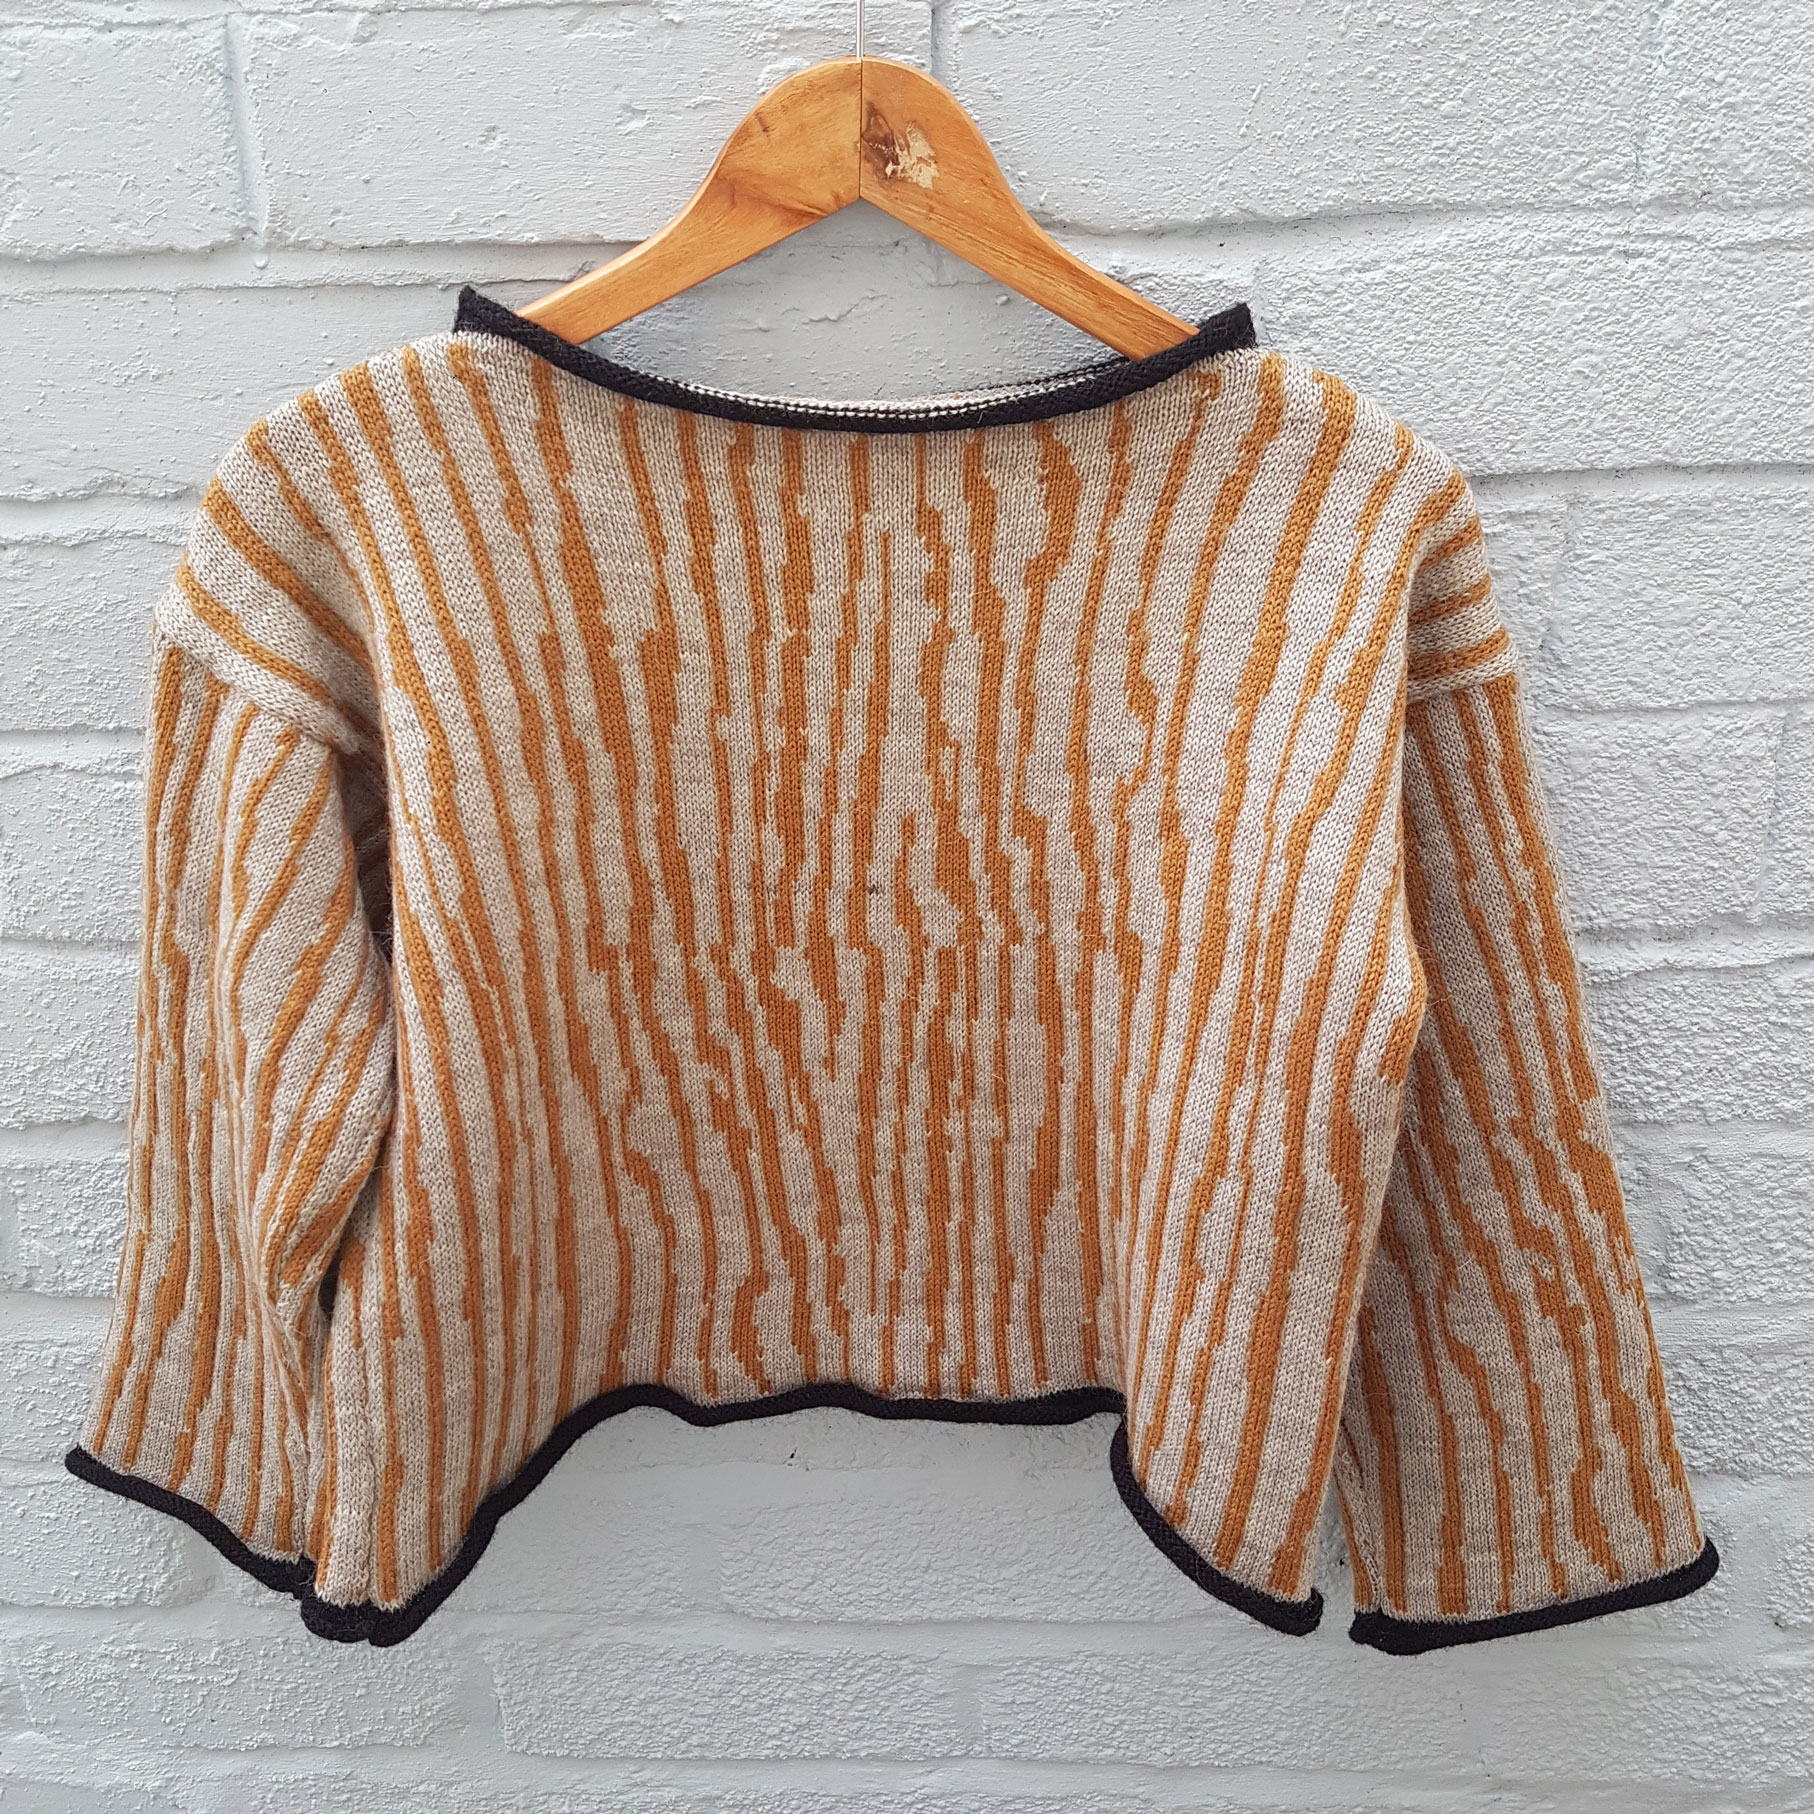
Although it was frustrating to have failed twice, each version helped me to refine the shape and design so that my final prototype is much stronger. I still think it needs some tweaking before it can be a marketable garment, but it's a promising design!
References:
Burns, R. 2018. Boxy Sweater Development 1-17. Photographs.
Softbyte Ltd. 2012. Silverlinks and Static Electricity [online]. Available from: https://www.softbyte.co.uk/silverlinksandstaticelectricity.htm [Accessed 6 April 2018].